
 Canadian
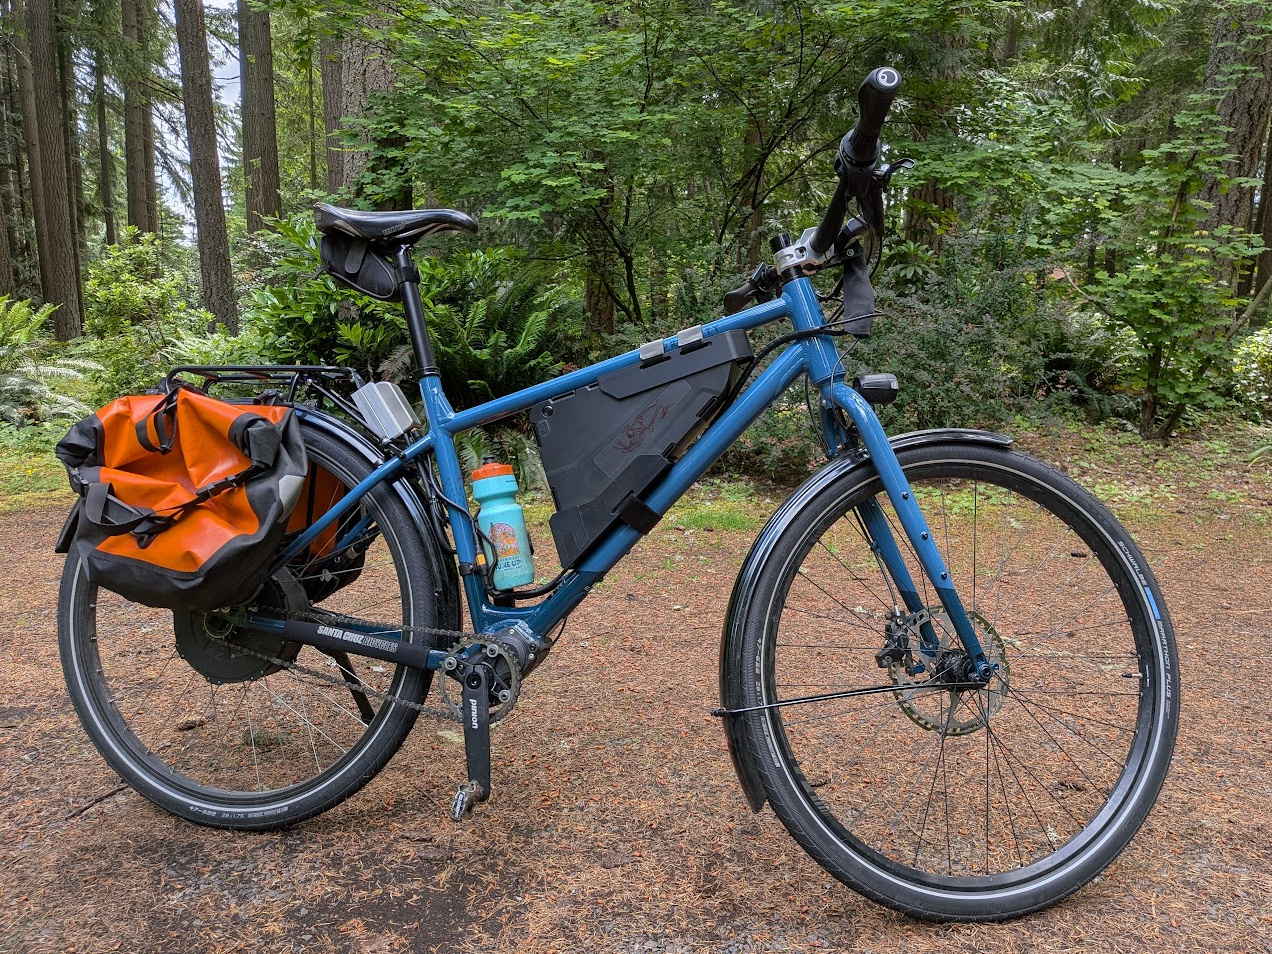
Pinion gearbox commuter with Max45 single speed
WA - USA
|
169
Published: 2026-06-12
This is my dream build commuter for the hilly and wet pacific northwest. To achieve some fast average commute speeds, I discovered that traditional gearing was not going to cut it. Having spotted the Max45 with singlespeed was possible for 148x12 boost dropouts I started researching bike packing/mtb frames that have pinion gearboxes. This led me to deciding on the Priority Bruzer as the platform for my project.
With that decision made I then ordered up the necessary Grin kit to take me to the finish line. Utilizing the amazing resources on the Grin website ("Motor Simulator" and "Trip Simulator") I figured out what voltage battery (and capacity) was necessary for my fast commutes, as well as what winding I wanted in the Max45. With that analysis complete I ordered up a Max45 singlespeed kit with STD winding, a CA3 and Phaserunner. Battery choice was a 72V with a needed capacity of around 1.3+kWh's. Searching around I sourced a 72V 20Ah battery in the triangle form factor with good quality Samsung cells.
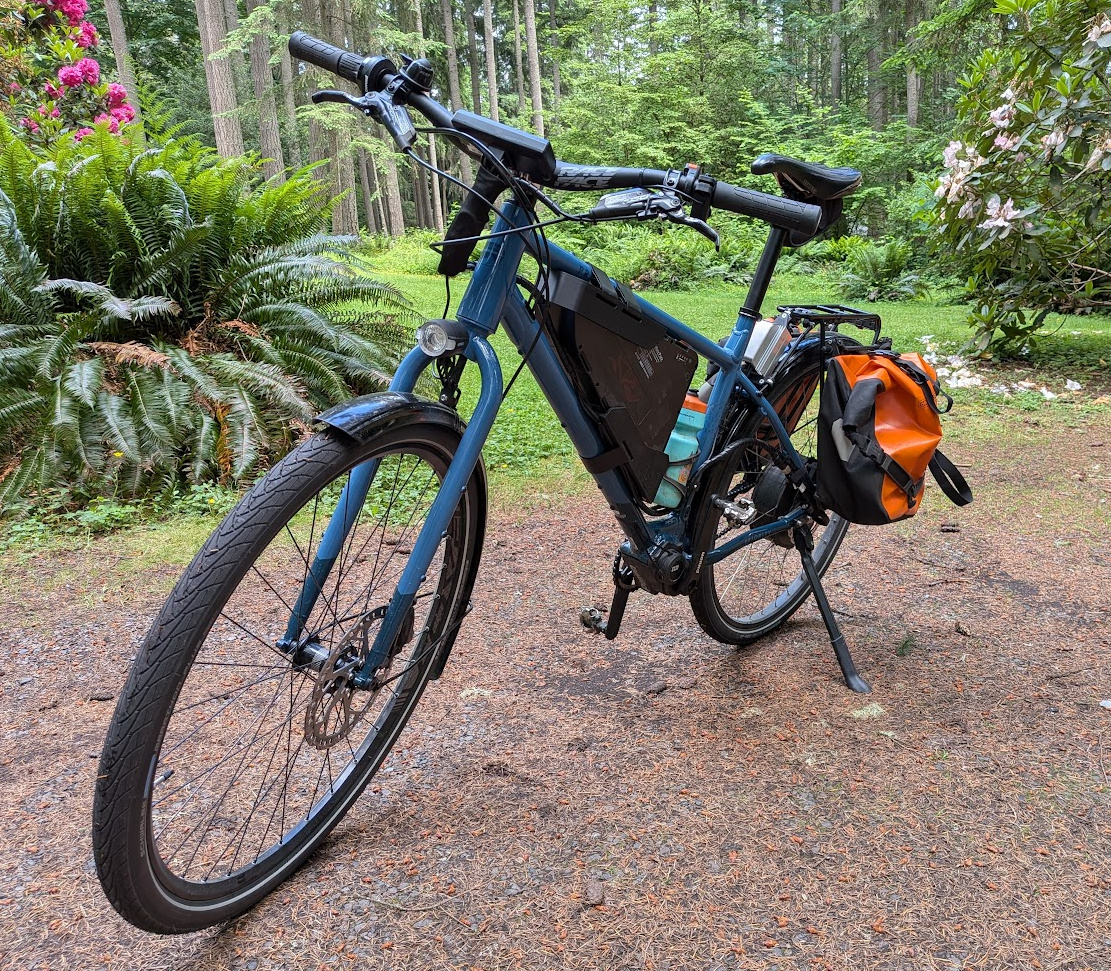
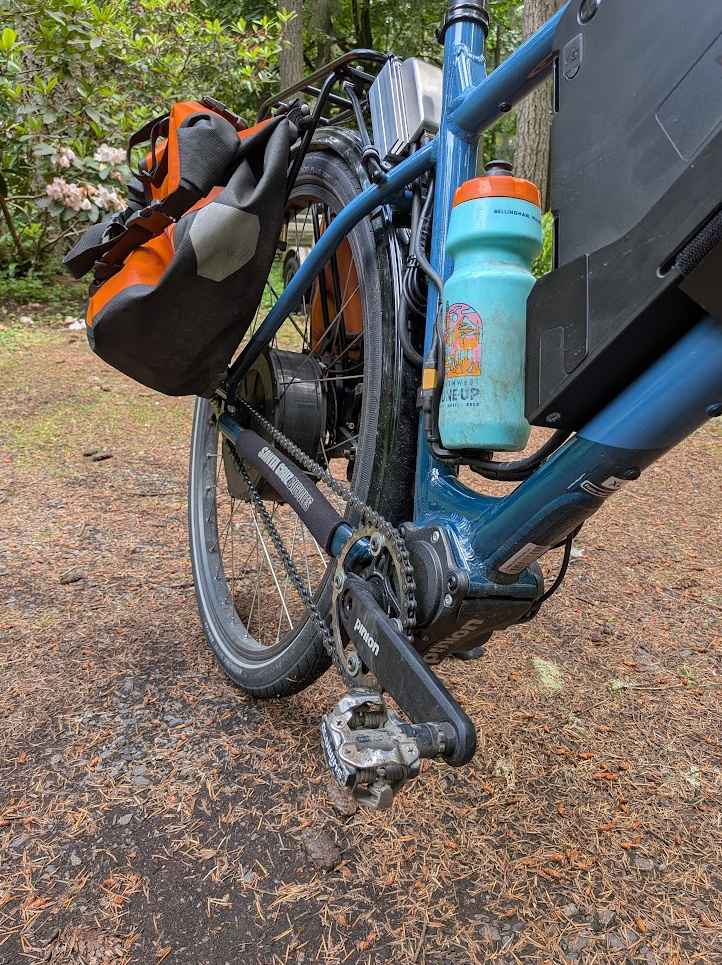
Battery mounting
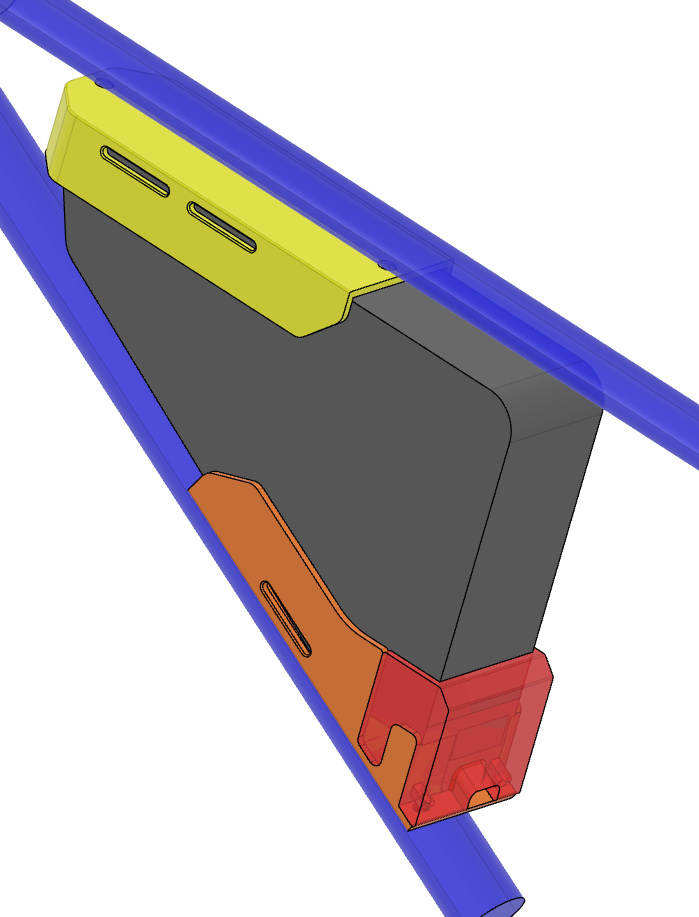
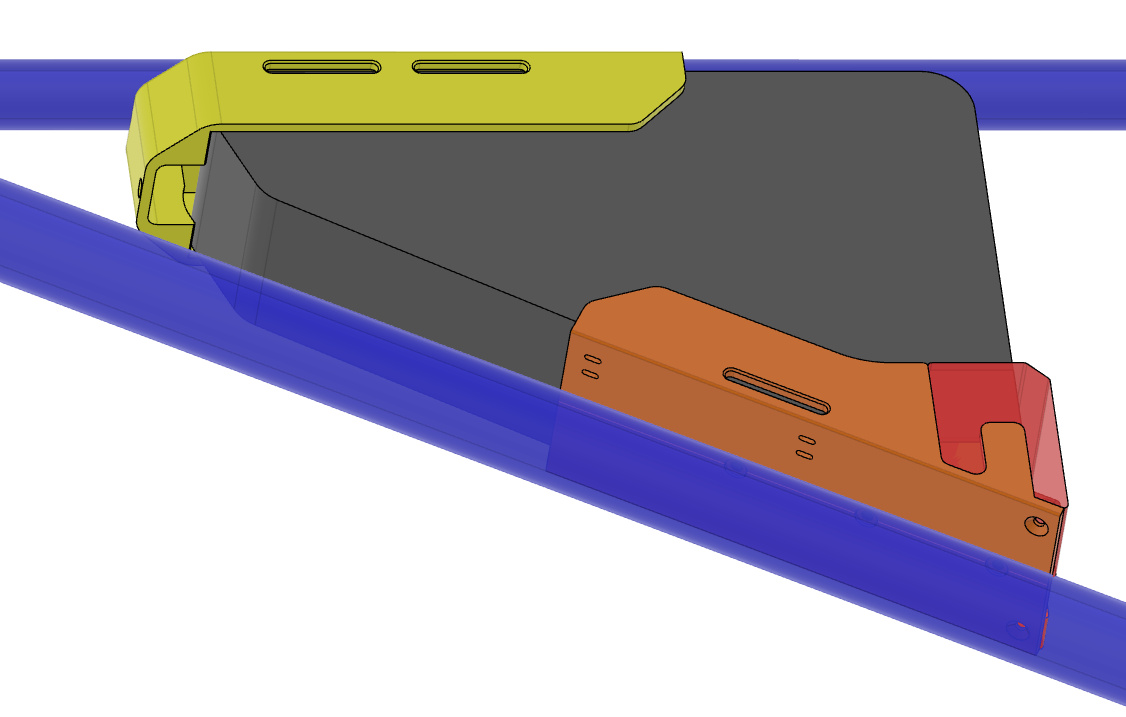
Once everything arrived, I had a great time CAD designing up some mounts to adapt the frame to accept the triangle battery. The benefit of having a ‘bike packing’ based bike is lots of mounting locations. The battery is a snug fit in the upper and lower mount, with a close out component that holds the base of the battery tightly (with hidden nyloc nuts) and a cavity for the XT90 battery cable to exit. While I was at it, I added in some cable tie slots for cable management. The parts were all made with the use of my son’s 3D printer – bonus!
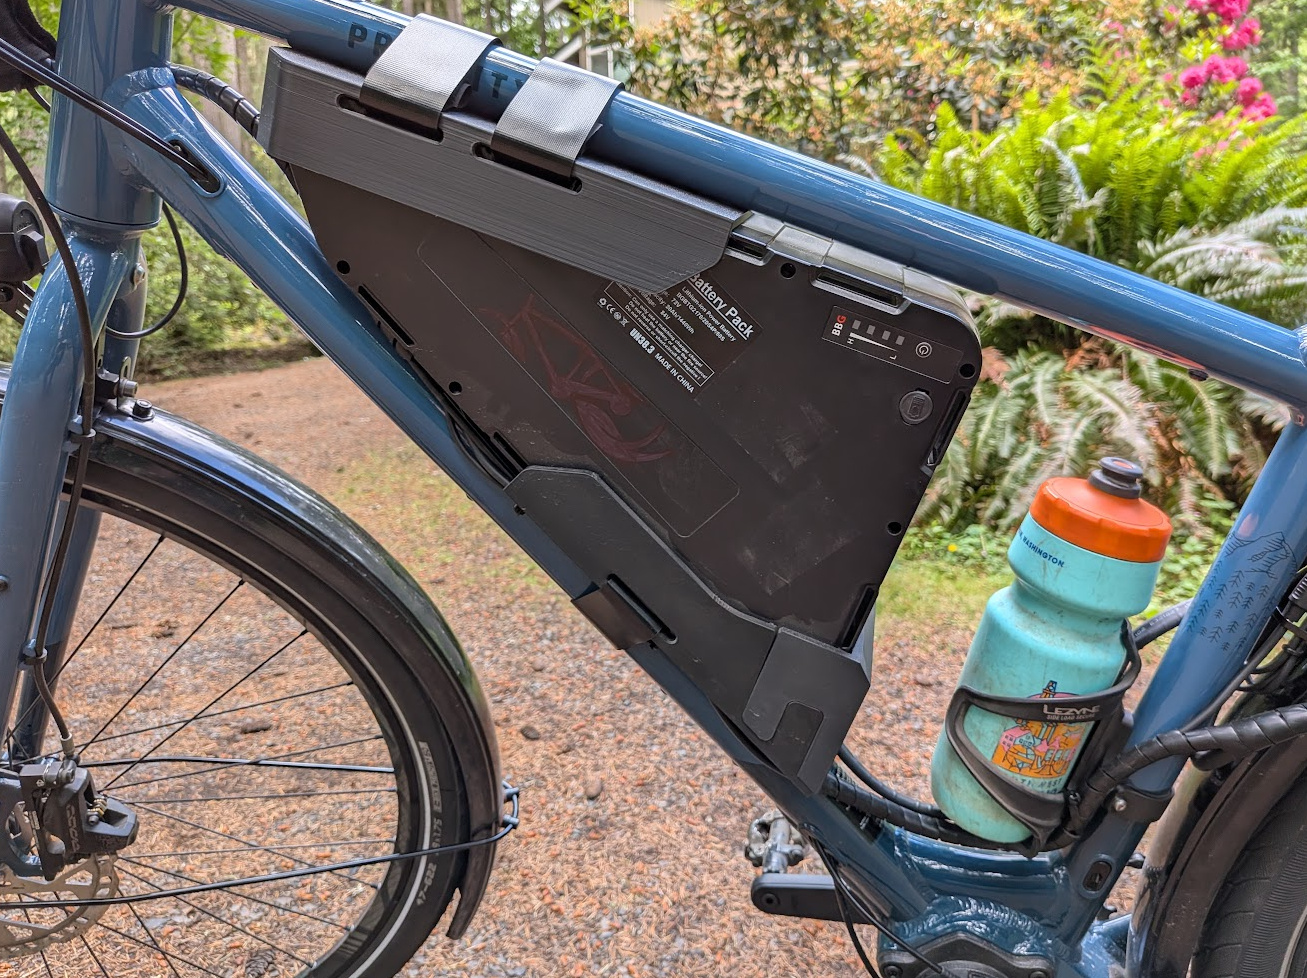
Torque arm
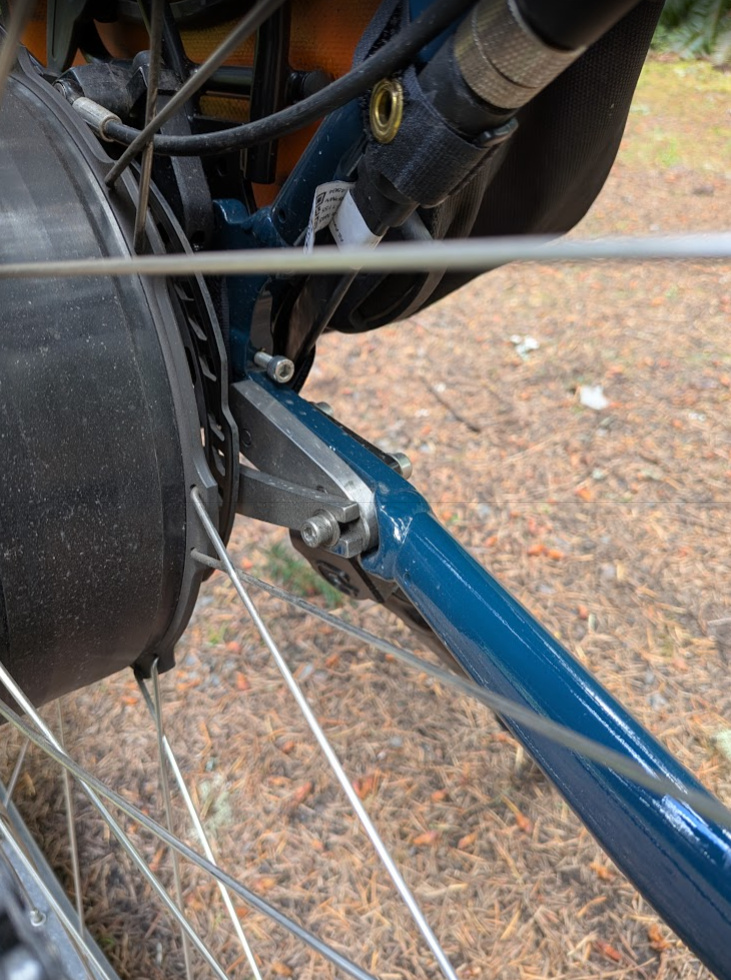
The other component that required some careful thought was the mount for the torque arm. With the side stand mounted externally on the swingarm, I utilized the bolt pattern to mount an inner adapter plate that the torque arm itself attaches to. The width of this plate was set to be perfect for the torque arm mount face plane. Another point on this was to accommodate the chain stretch as the drivetrain wears. The torque arm is mounted via an open end slot so can accommodate this as the horizontal singlespeed dropouts are extended. With this design it is still very straightforward to remove the rear wheel, remove the one fastener and lift the wheel out, simple.
Cockpit
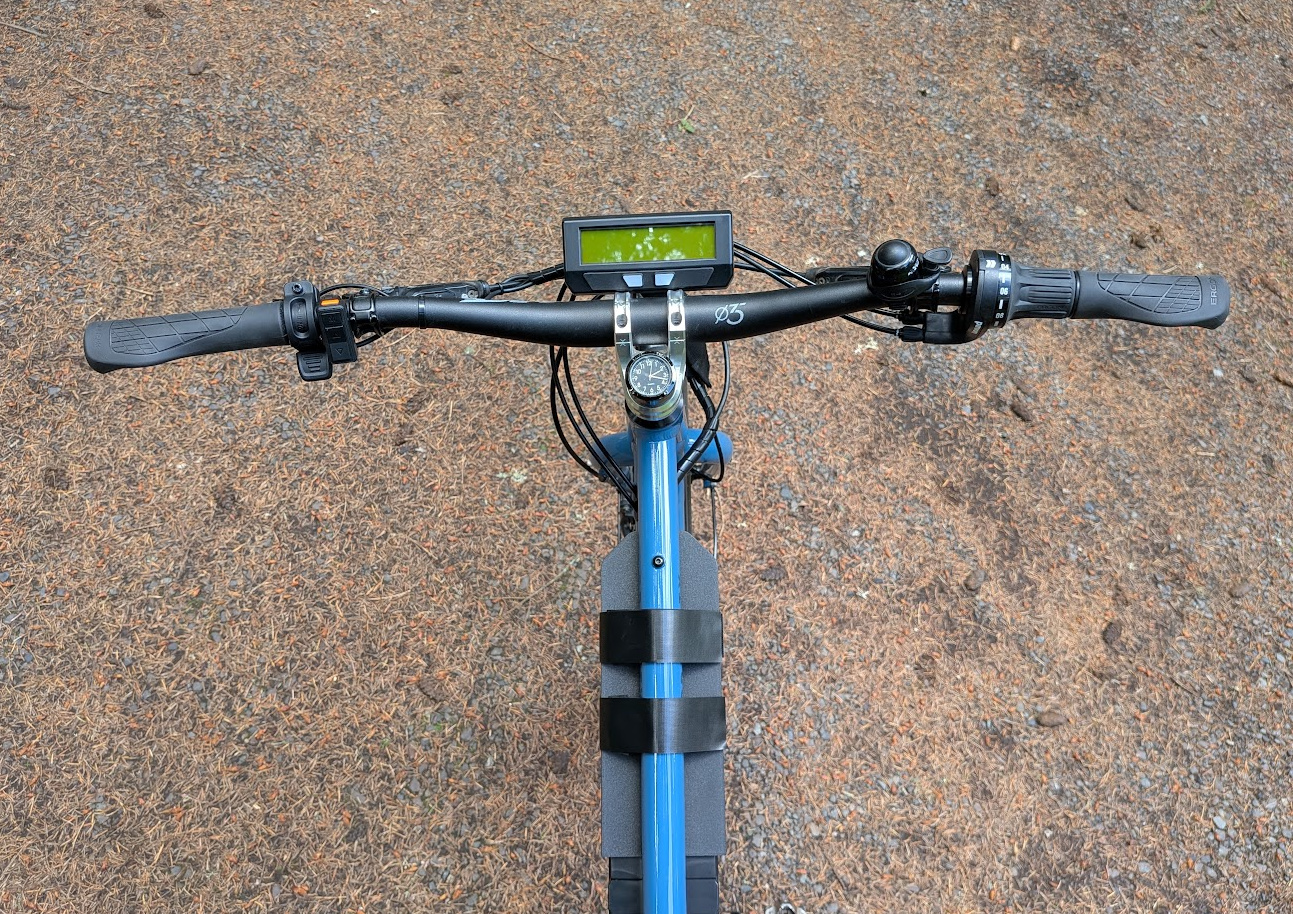
For the cockpit area I went with some mtb components I had lying around and decided that I wanted the CA3 to be in front of the stem. This was because when I have to fix a rear flat tire on my commute I want to flip the bike upside down and need the CA3 to not strike the ground and get damaged. To mount it forward of the stem I used a couple small 90deg brackets. The position is exactly where I want it.
Heatsink - phaserunner
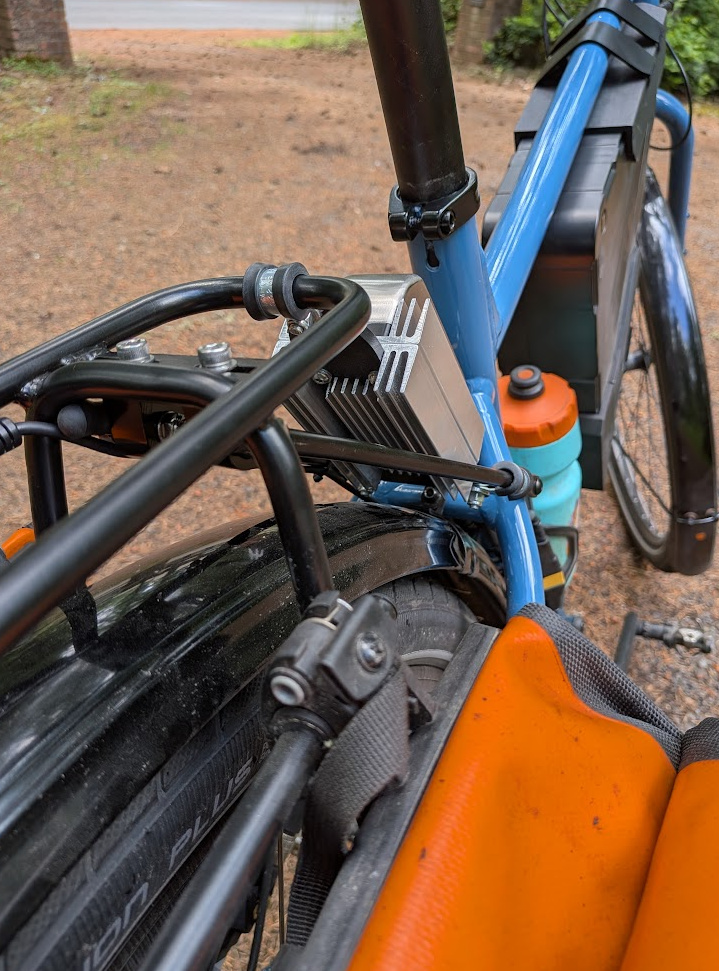
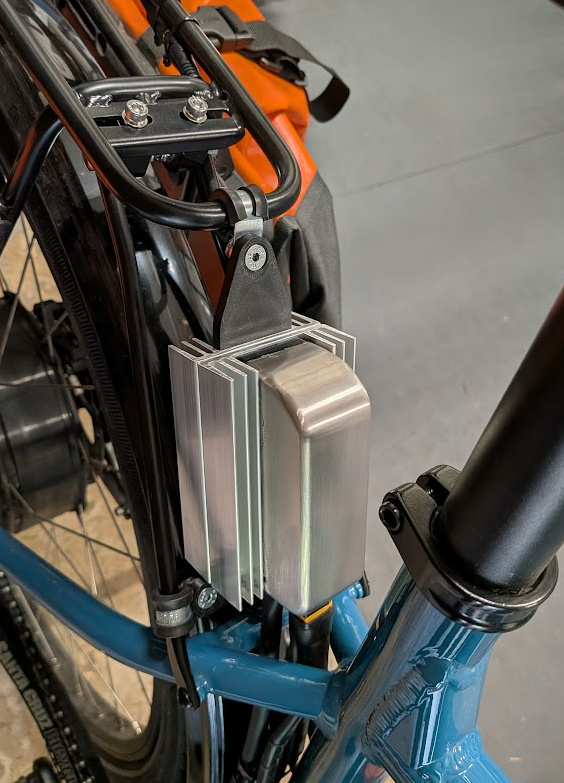
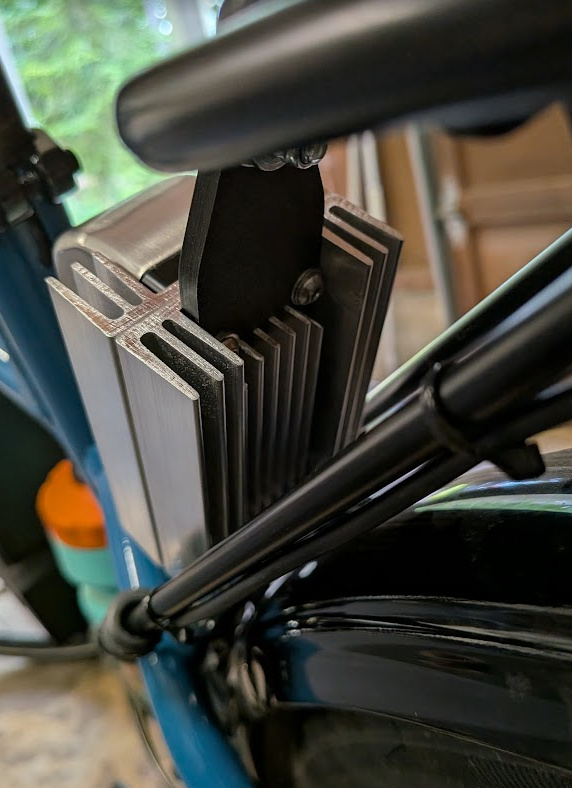
The last task I had was to mount a heatsink for the phaserunner. When I ordered the kit from Grin I was not sure where everything was going to mount and I forgot to include the phaserunner heatsinks. Once I had a position in mind and all the cable routing was finalized, I got to some more CAD and 3D printing. The heatsinks I found are mounted back to back, with through bolts to the phaserunner itself. I also have a smaller heatsink mounted centrally underneath that is retained by some comb features in the 3D printing of the mount. The whole heatsink assembly is mounted to the tubus rear rack with rubber covered p-clips.
Summary and thanks!
In summary this has been a very enjoyable build, and the quality of the Grin components has been wonderful. I have completed about 600 miles so far (my commute is ~45miles per day total, so the mileage increases quickly) and the bike is everything I imagined it would be. I’m still dialing in some settings, but she’s a rocket ship that still feels like a regular pedal assisted bike. The resolution for the human torque input is nice and smooth, plus the regenerative braking is a game changer! Thanks Grin for all your resources and quality components!