
 Canadian
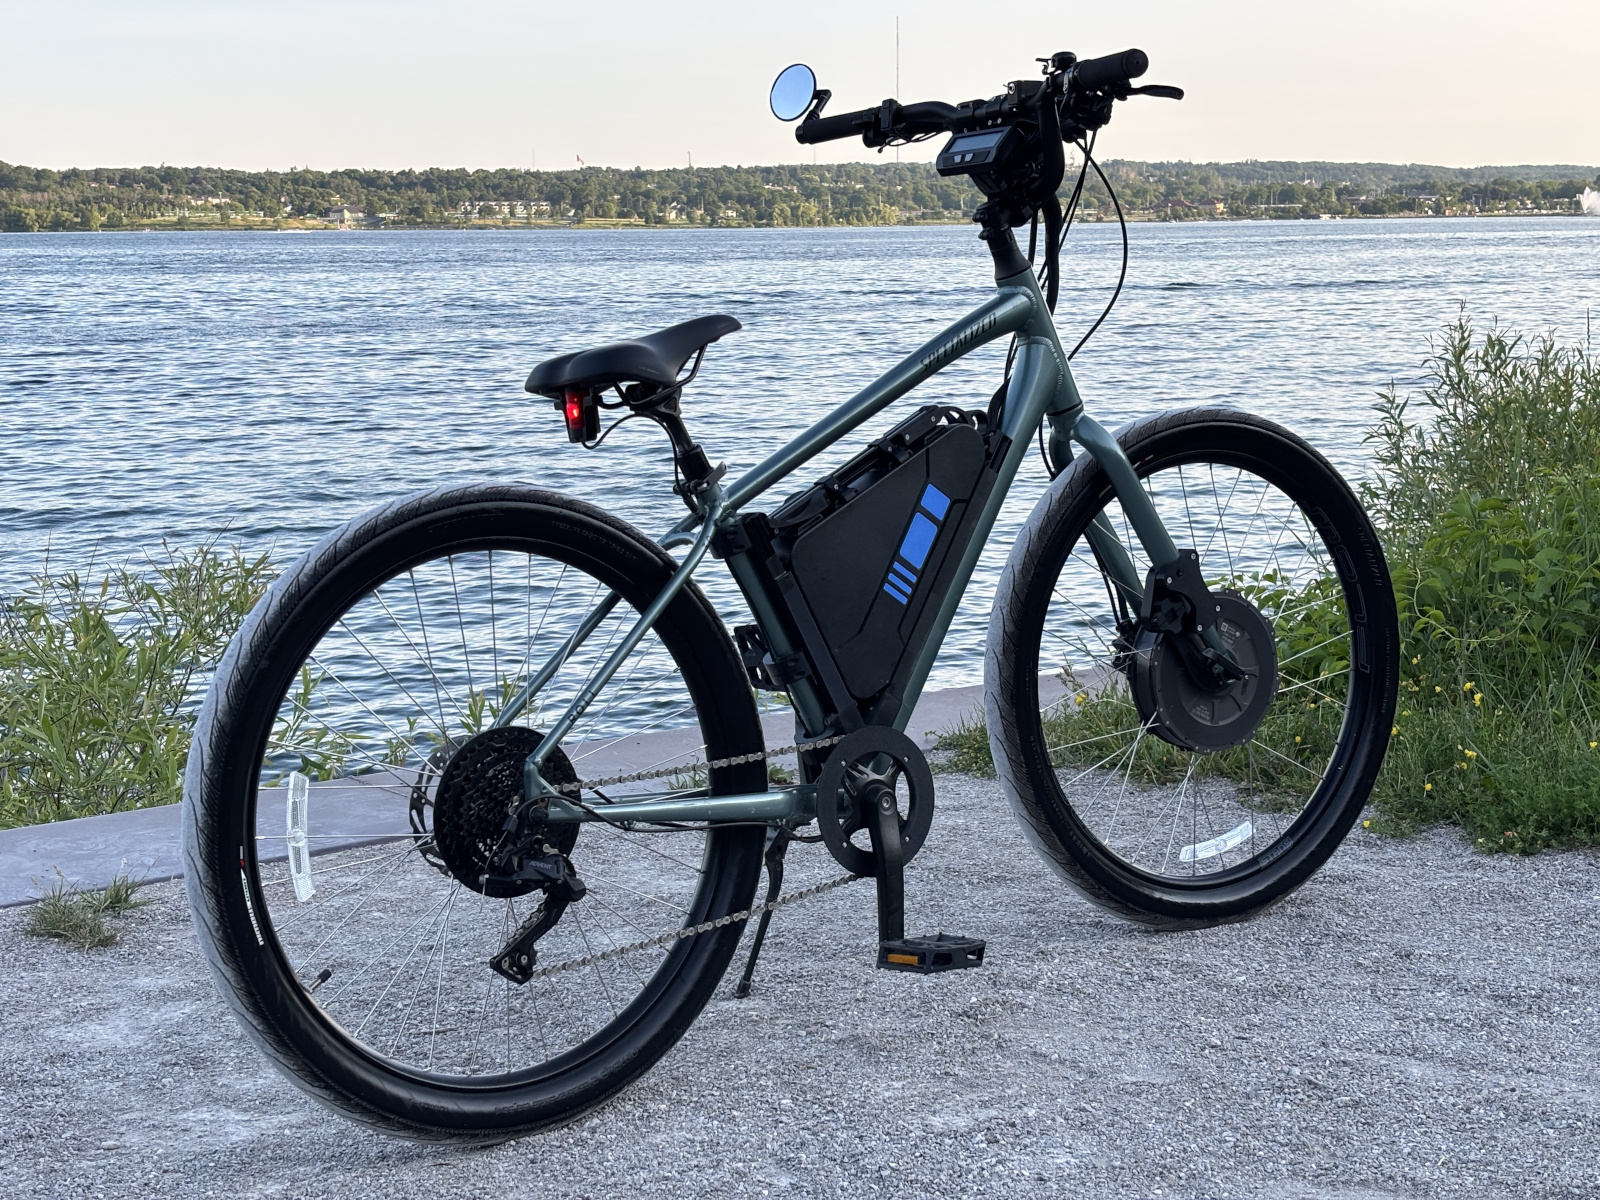
Plastic Love (Specialized Roll 3.0)
Ontario, Canada
|
102
Published: 2026-08-15
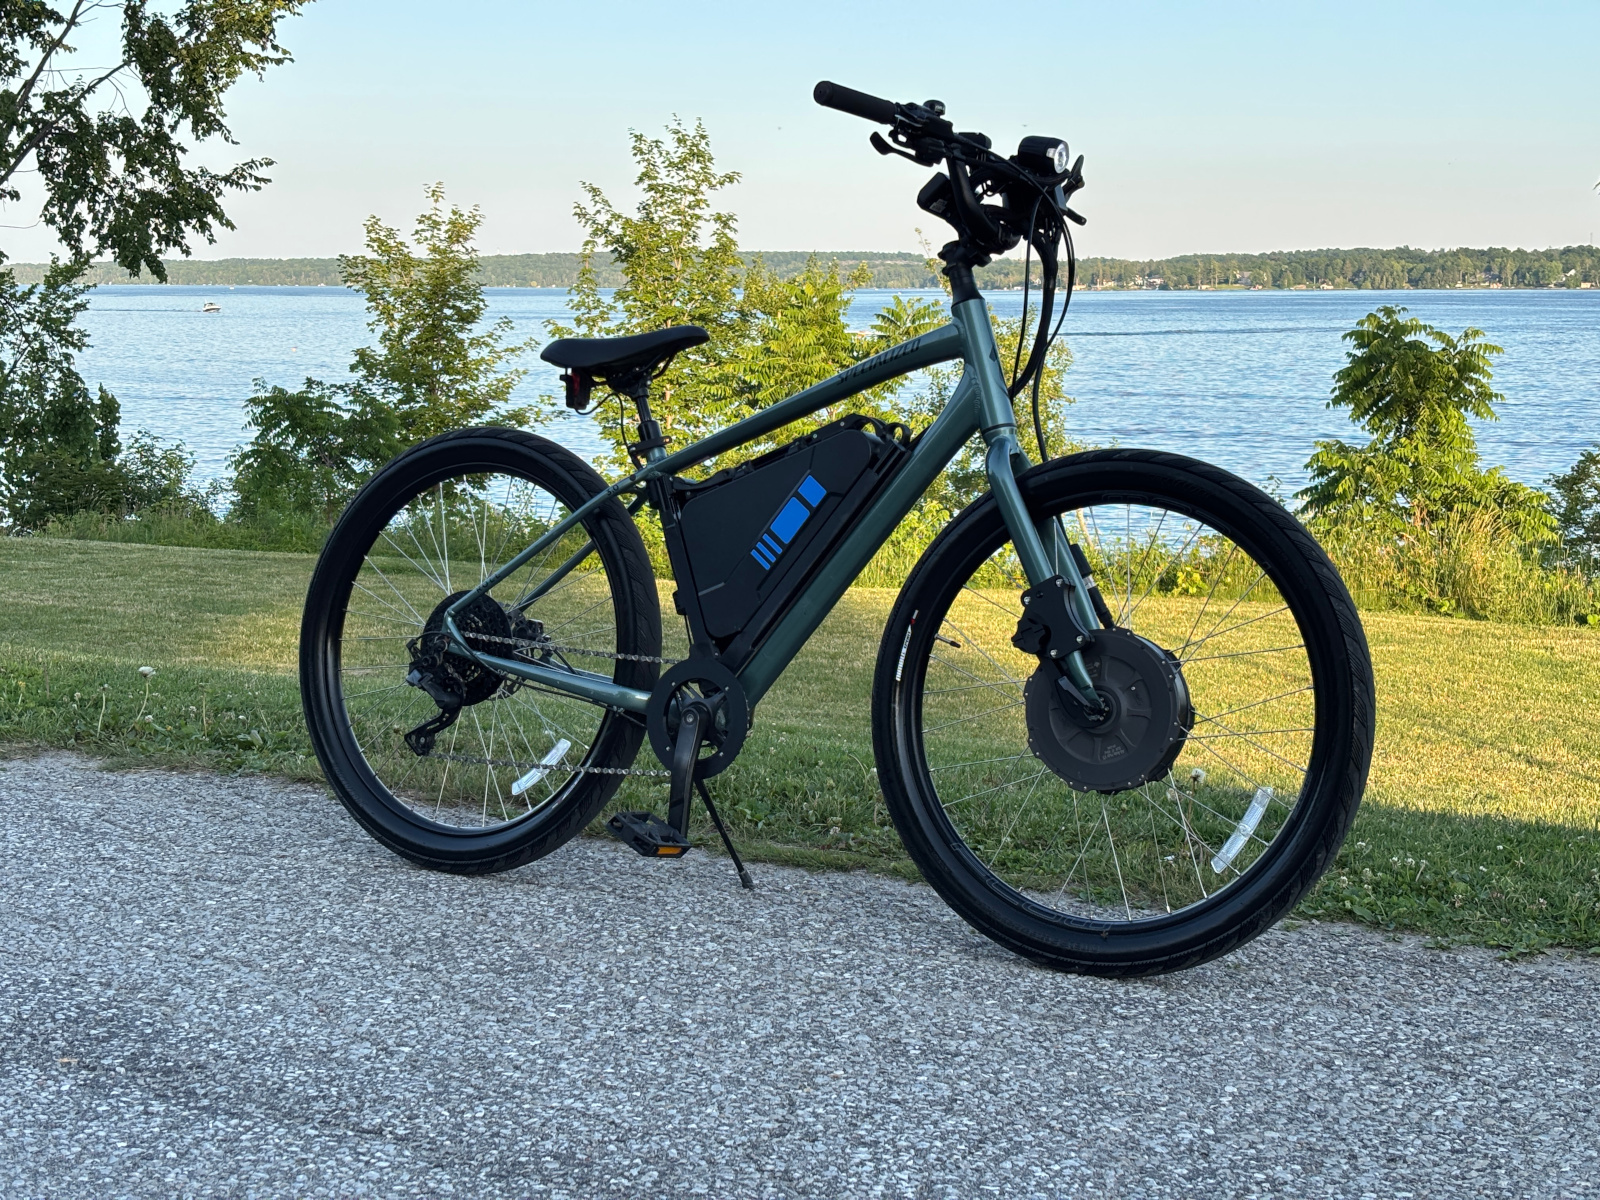
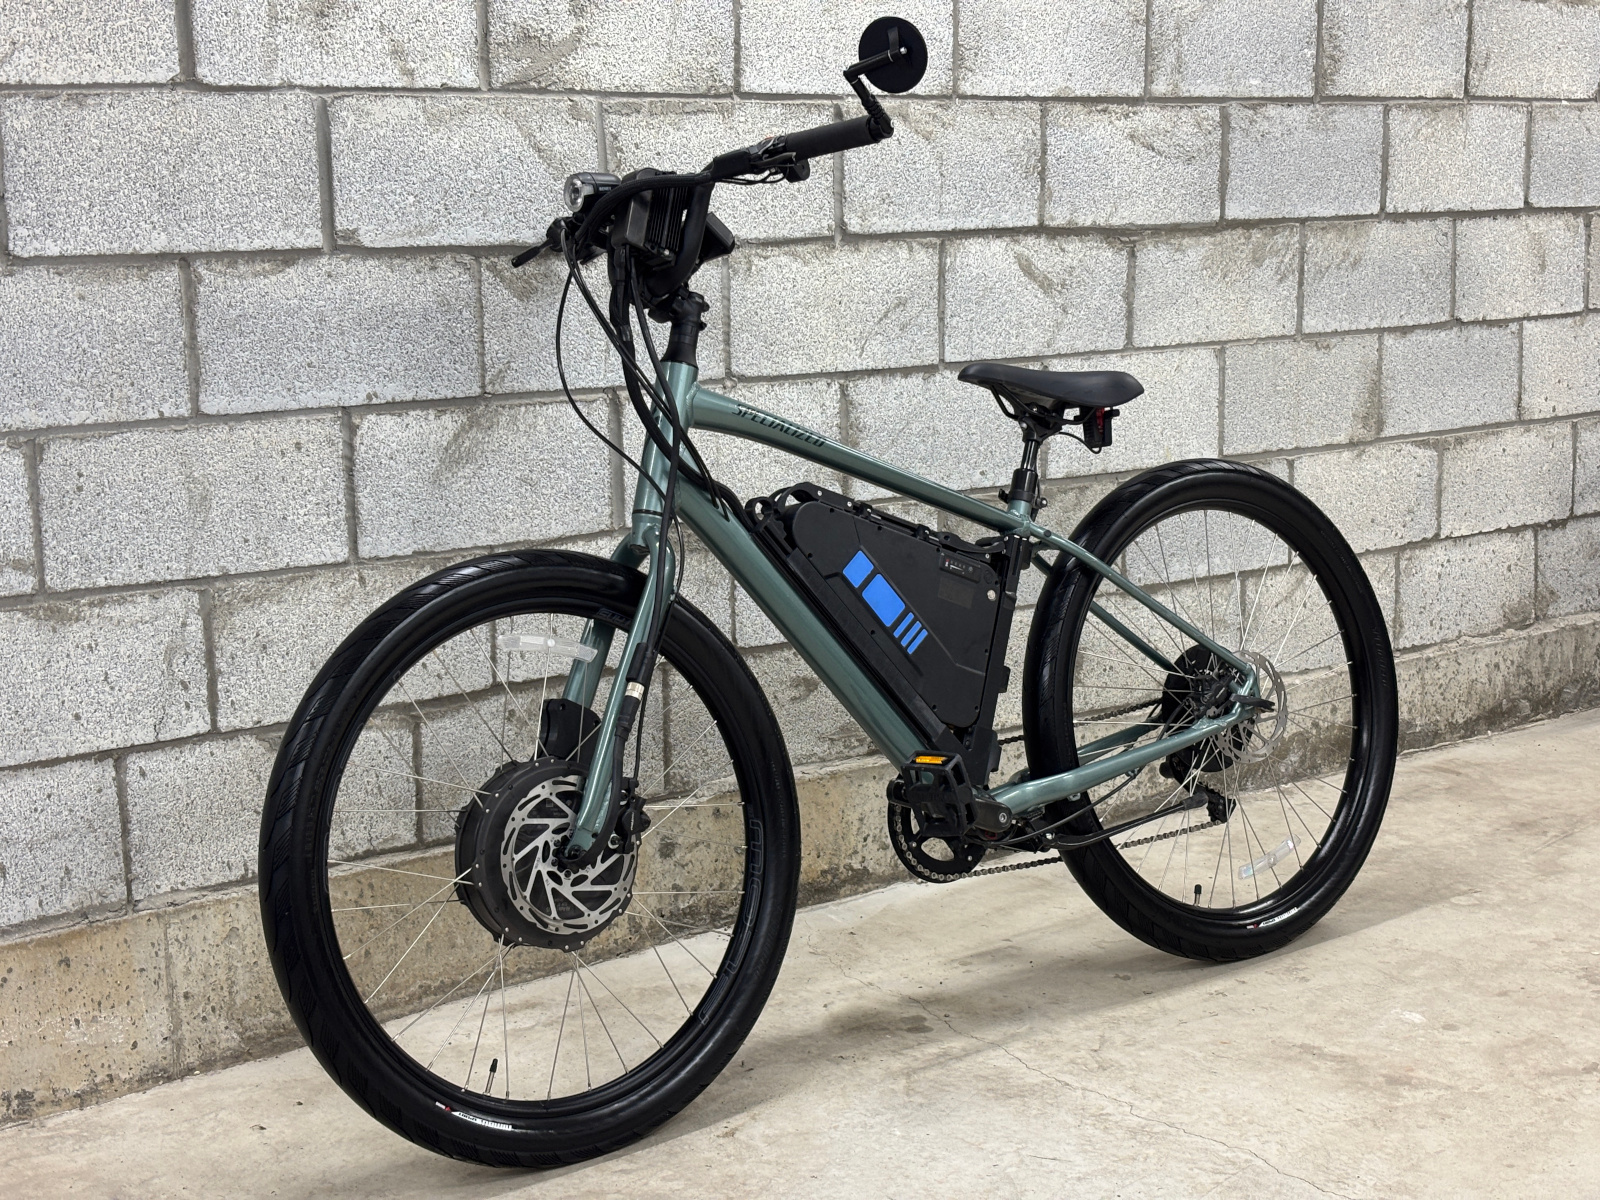
A FWD, High-voltage Grin All-Axle system on a Specialized Roll 3.0. Balloon tires and a relaxed posture while riding make this a dream for bike paths, gravel trails, and on the street. 3D printed PETG components hold everything together for a clean, portable design.
Build Prep
Being fed-up with the inaccessibility and high cost of cars as a hobby, I needed something that satisfied those gripes while having the same feeling of mobile freedom. I settled on E-bike conversions for the DIY factor, low running cost, and versatility. For my first build, I wanted something street/trail focused that I could disassemble easily to load in the car and take around the province.
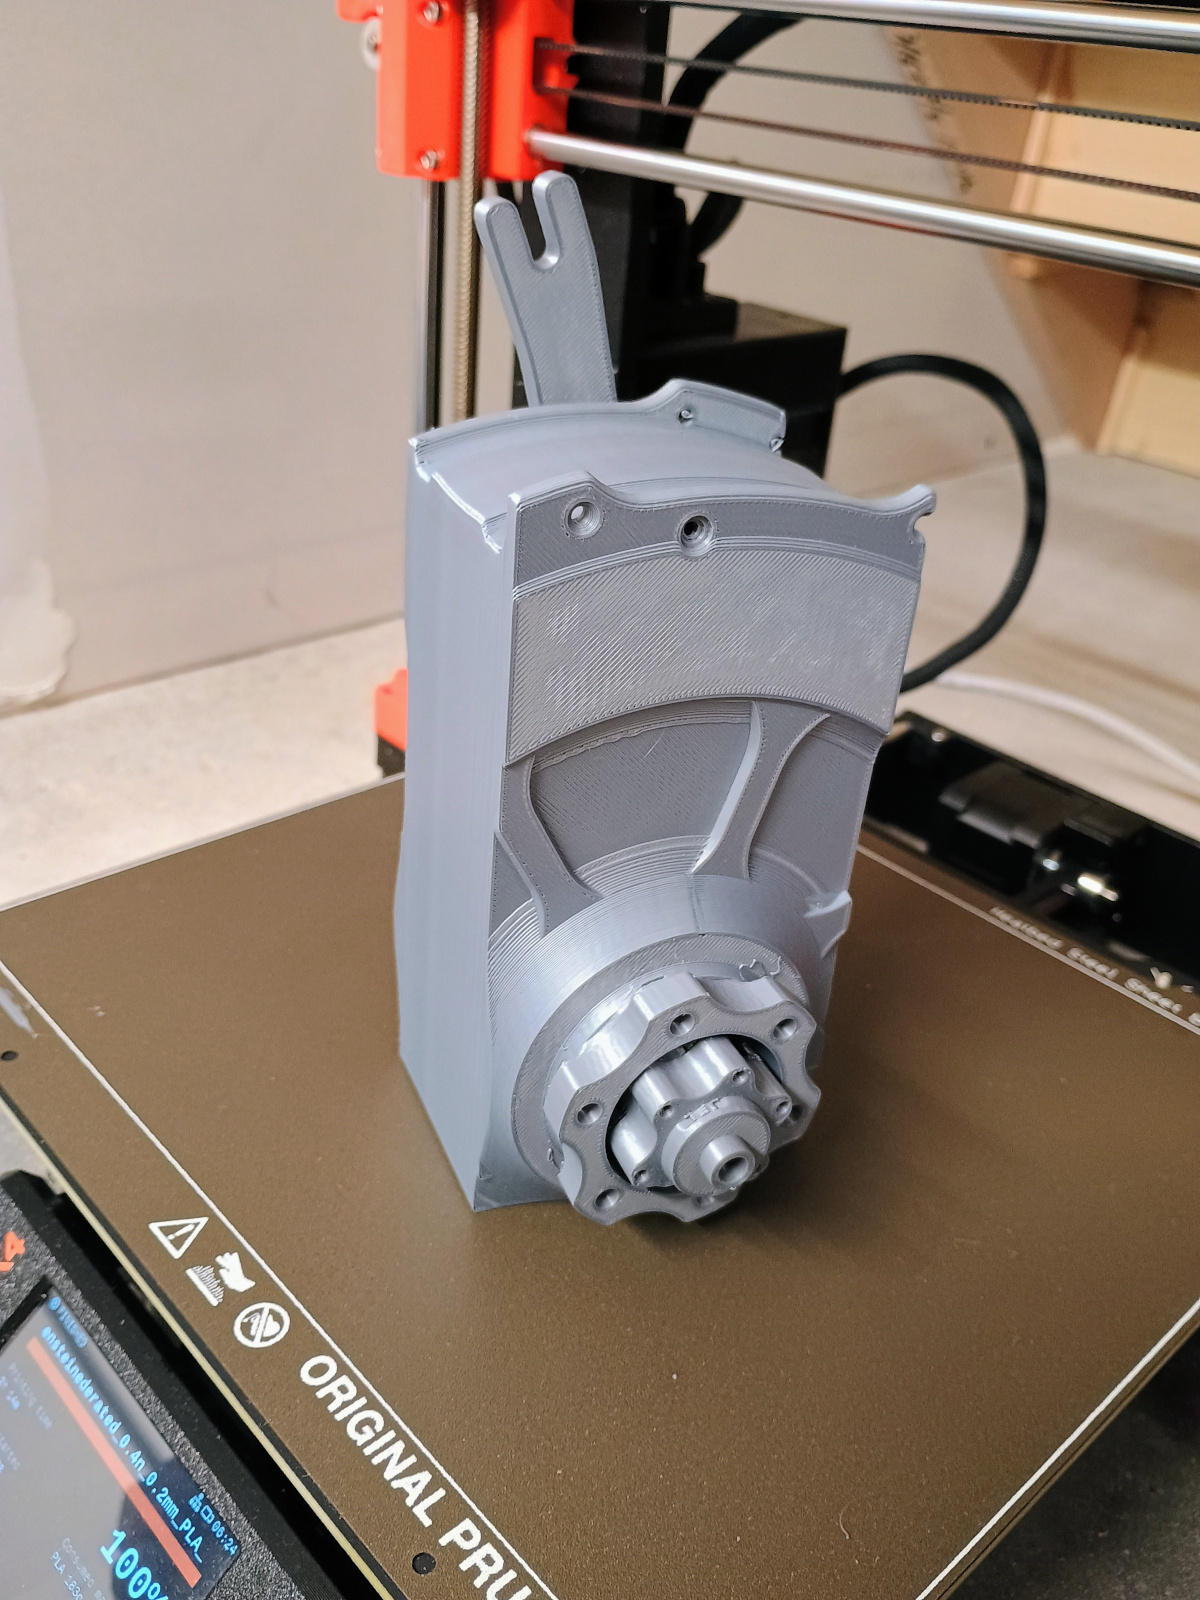
I chose a Specialized Roll 3.0 as a base for its large balloon tires and relaxed seating position. While not my first choice for a configuration, I went with the GRIN All-Axle Front as it was the only motor available with a 72v battery (And the AA just seemed like the right choice!). I have my guesses why a 72v rear "kit" isn't available, but I figured FWD would be a funky new feeling to try anyway. With the help of the available CAD files for the All-Axle motor and a spool of old filament, I was able to confirm I had a chance of keeping the hydraulic brake calipers with the build. Huge thanks to GRIN for providing those files, as I could then order all the parts with confidence that they would fit!
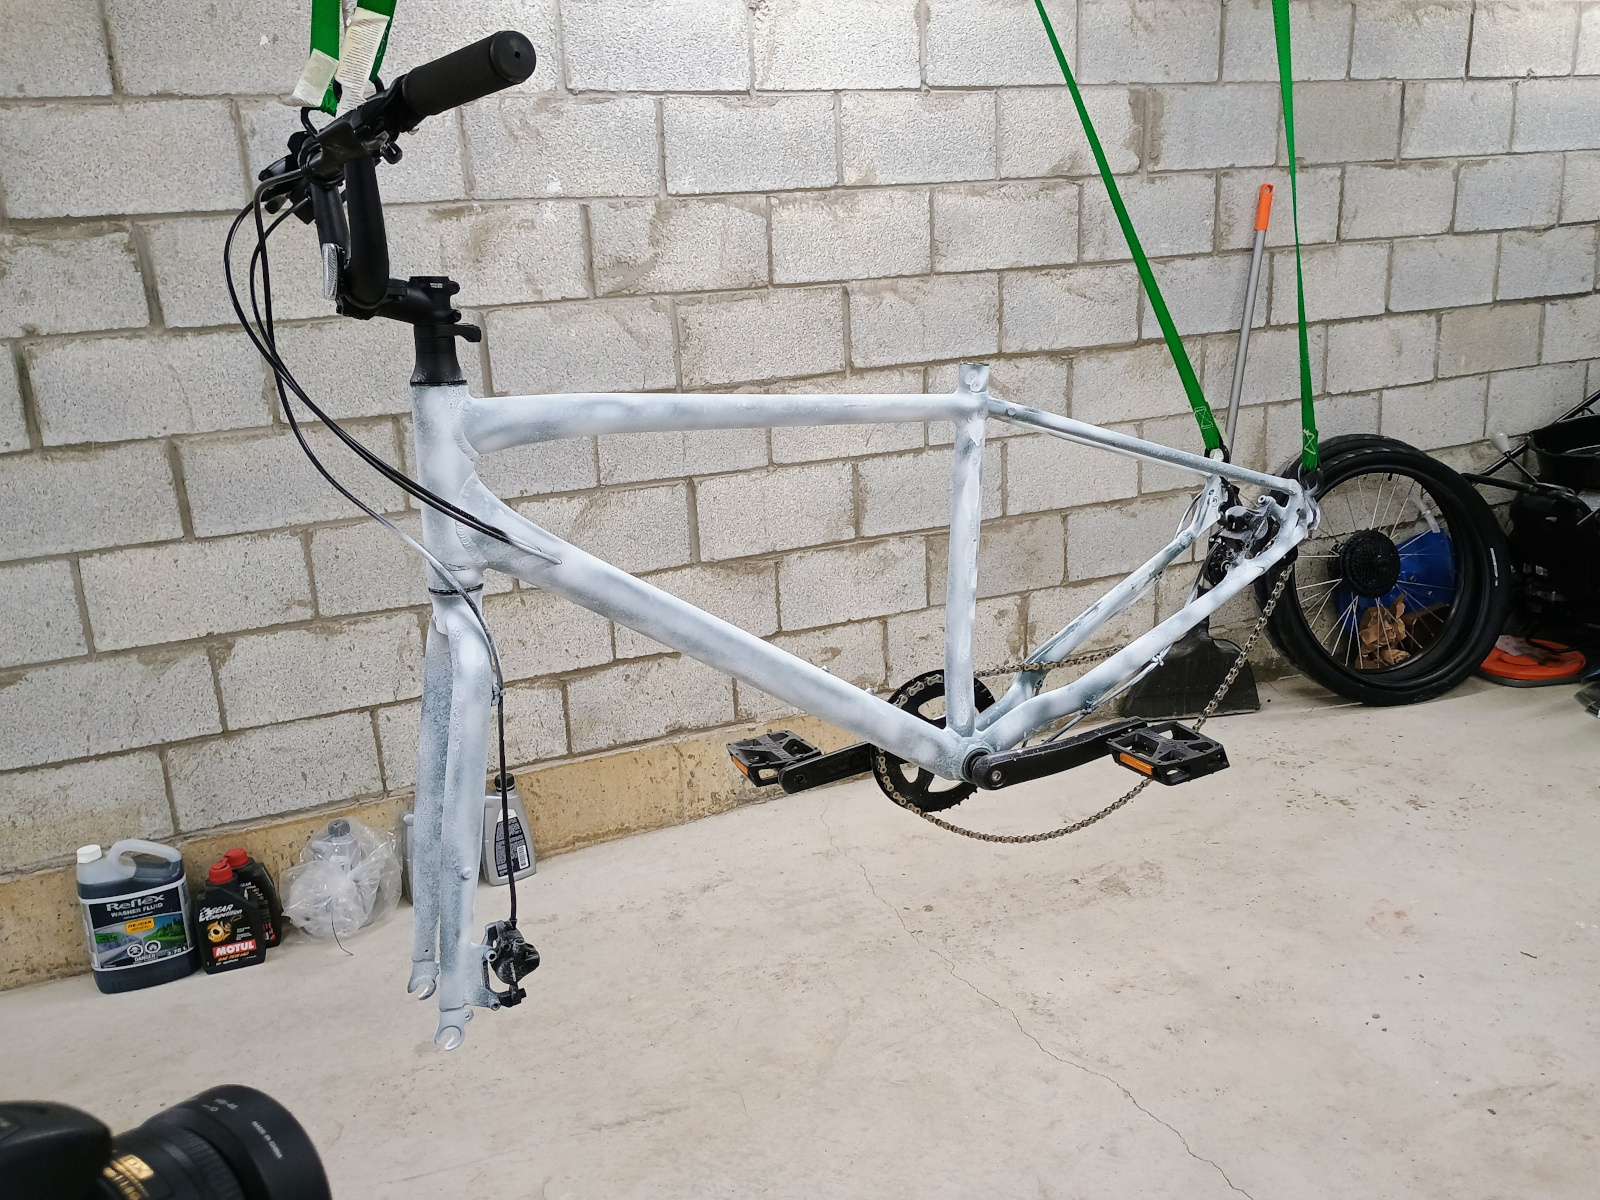
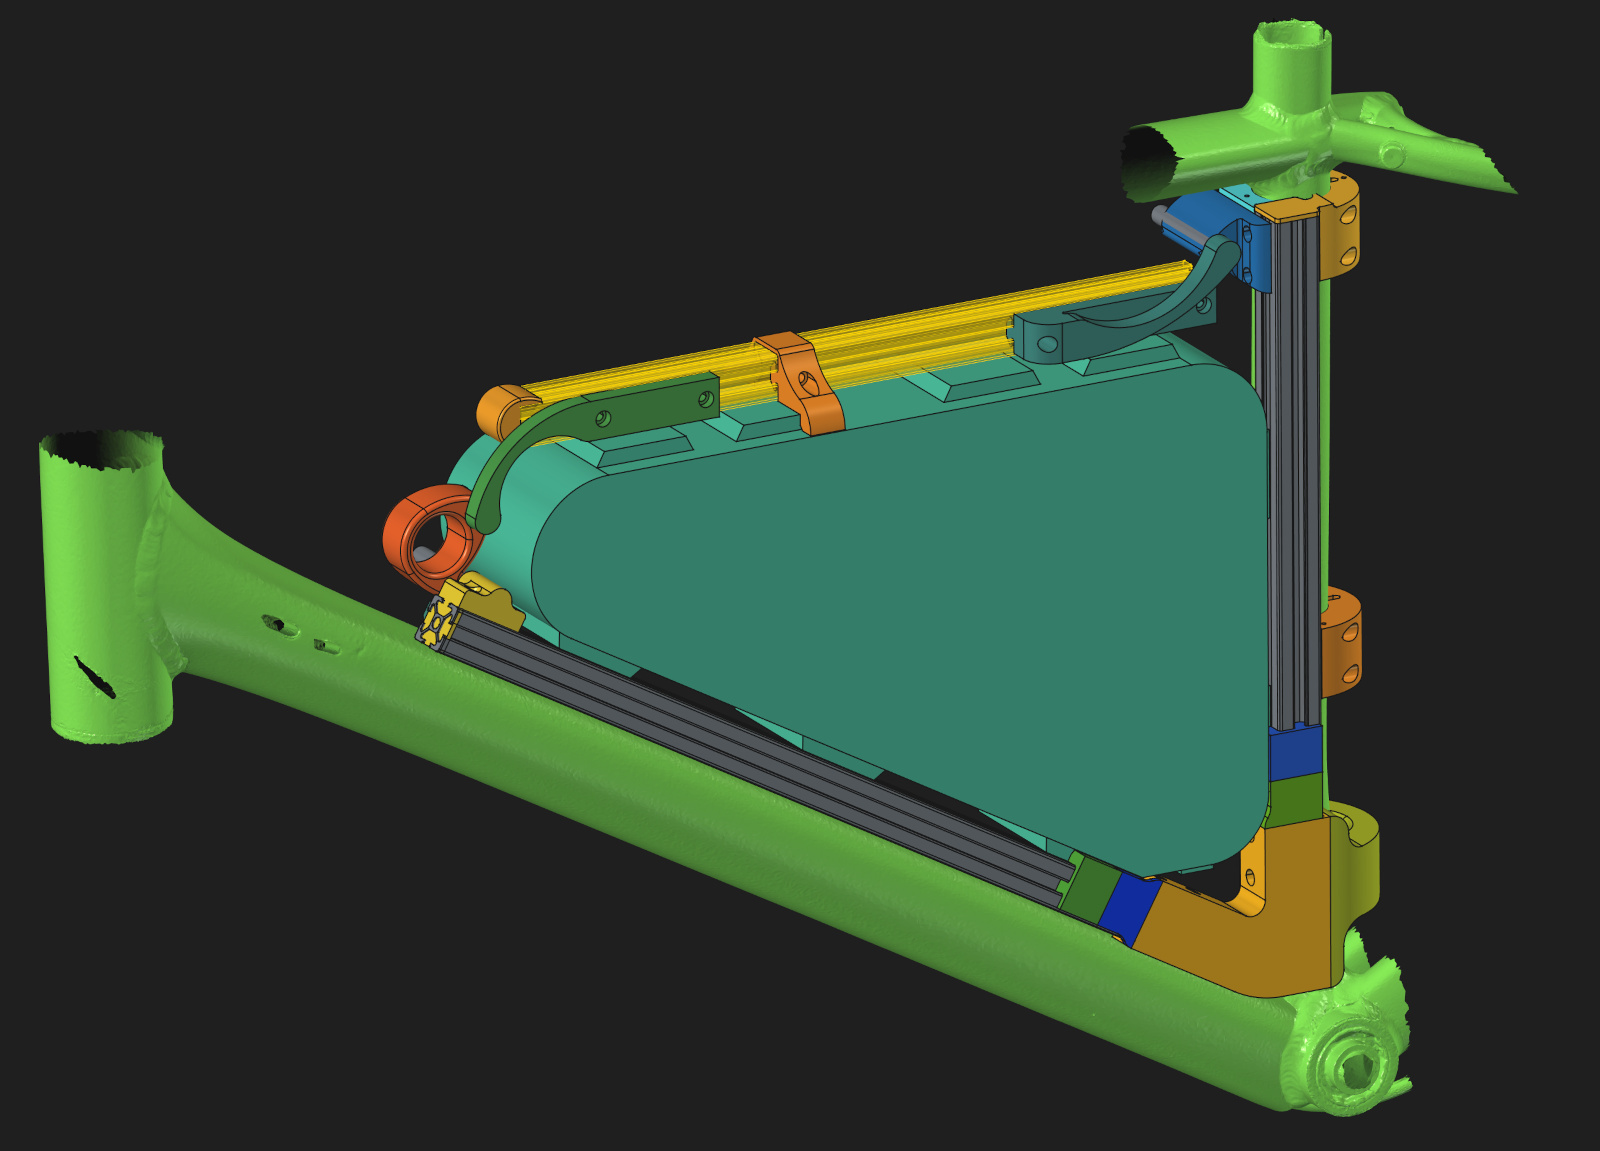
One thing I dislike about the Roll 3.0 is its mostly-non-cylindrical frame. While it looks very modern and premium, any custom mounts would need to fit to all the contours. I applied scanning spray to the frame and used my DSLR to take hundreds of pictures for photogrammetry reconstruction. I used this later for the torque arm holder and battery mount.
The Motor
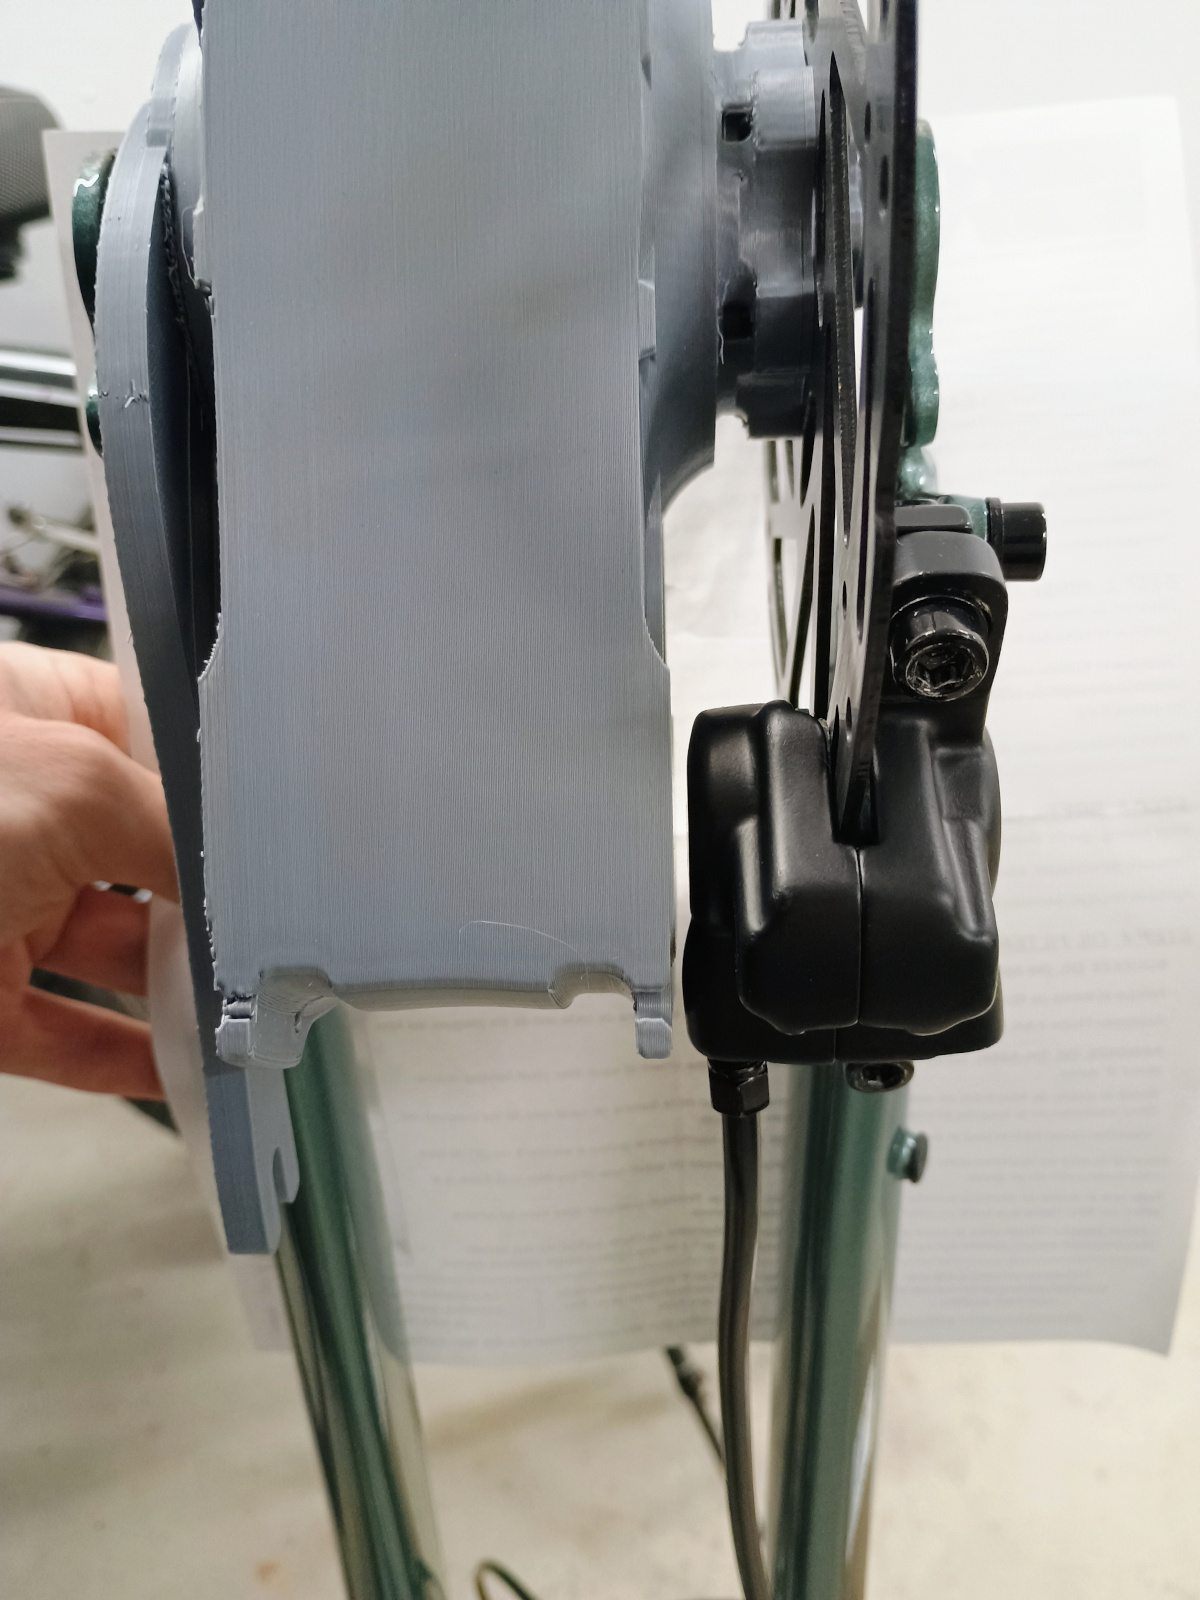
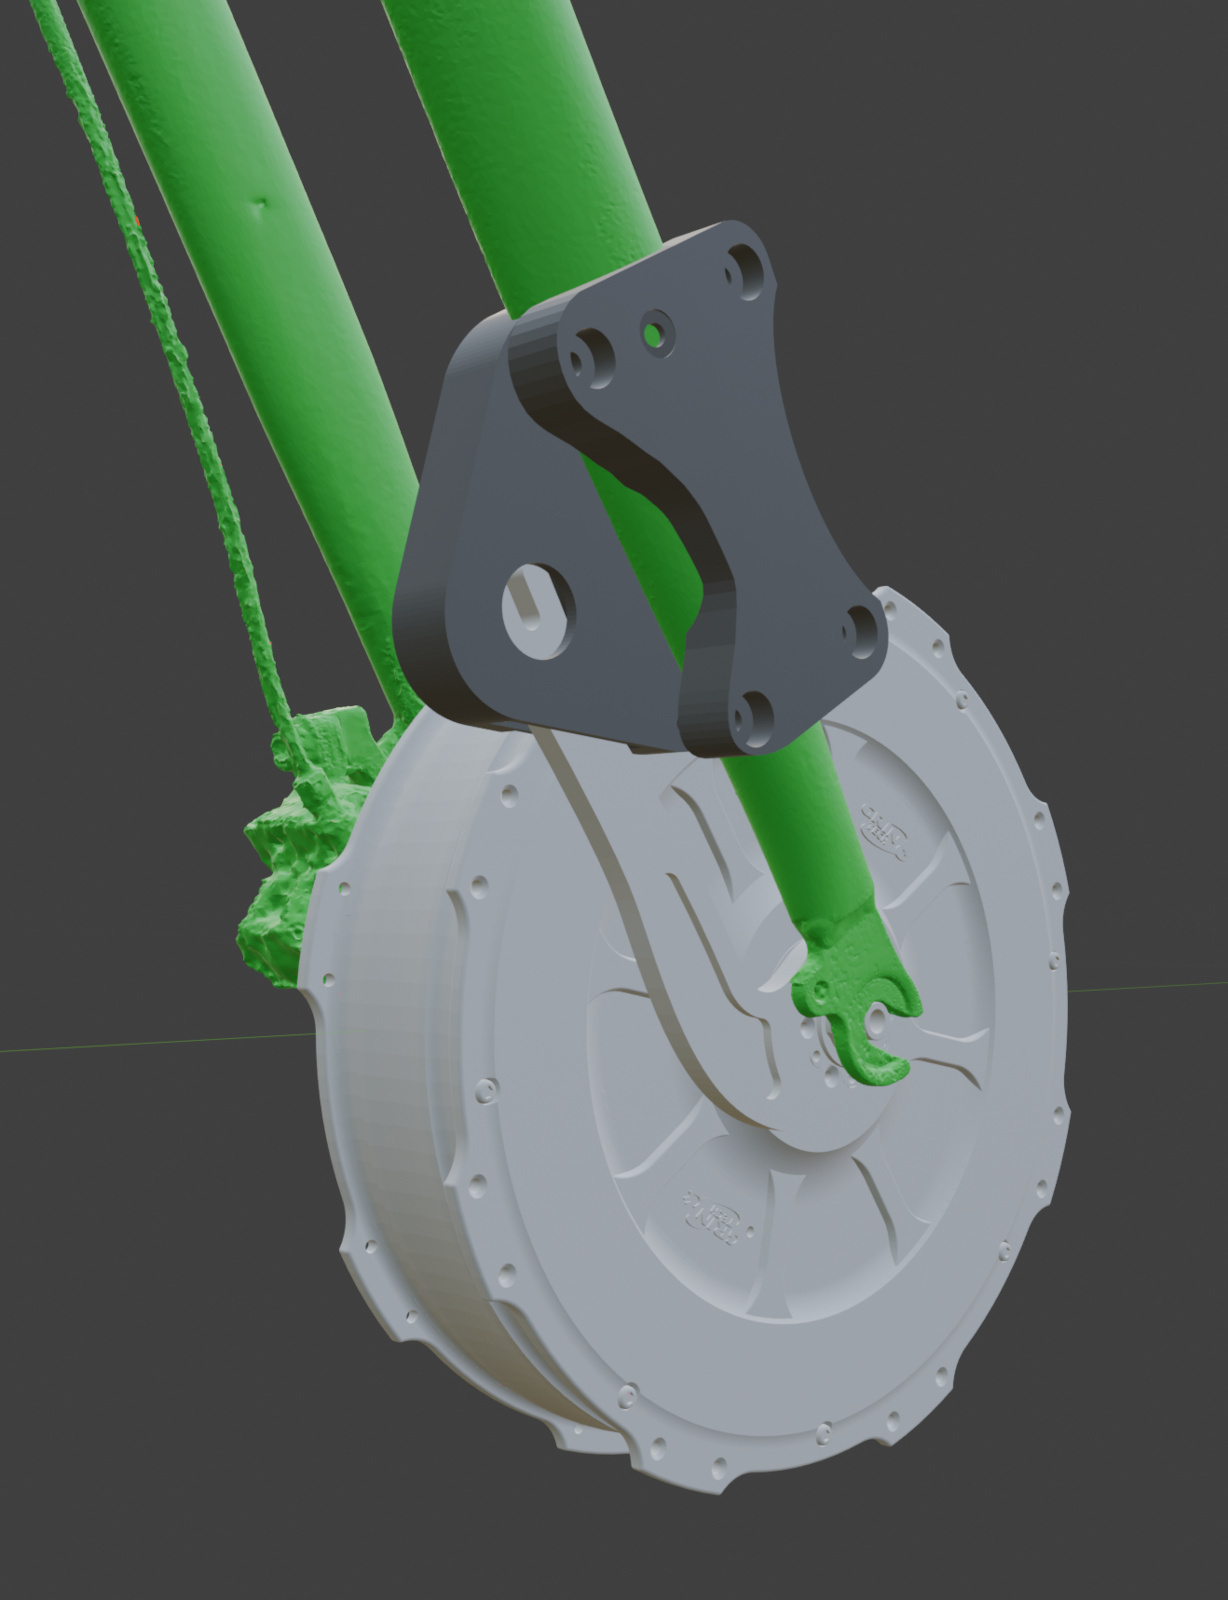
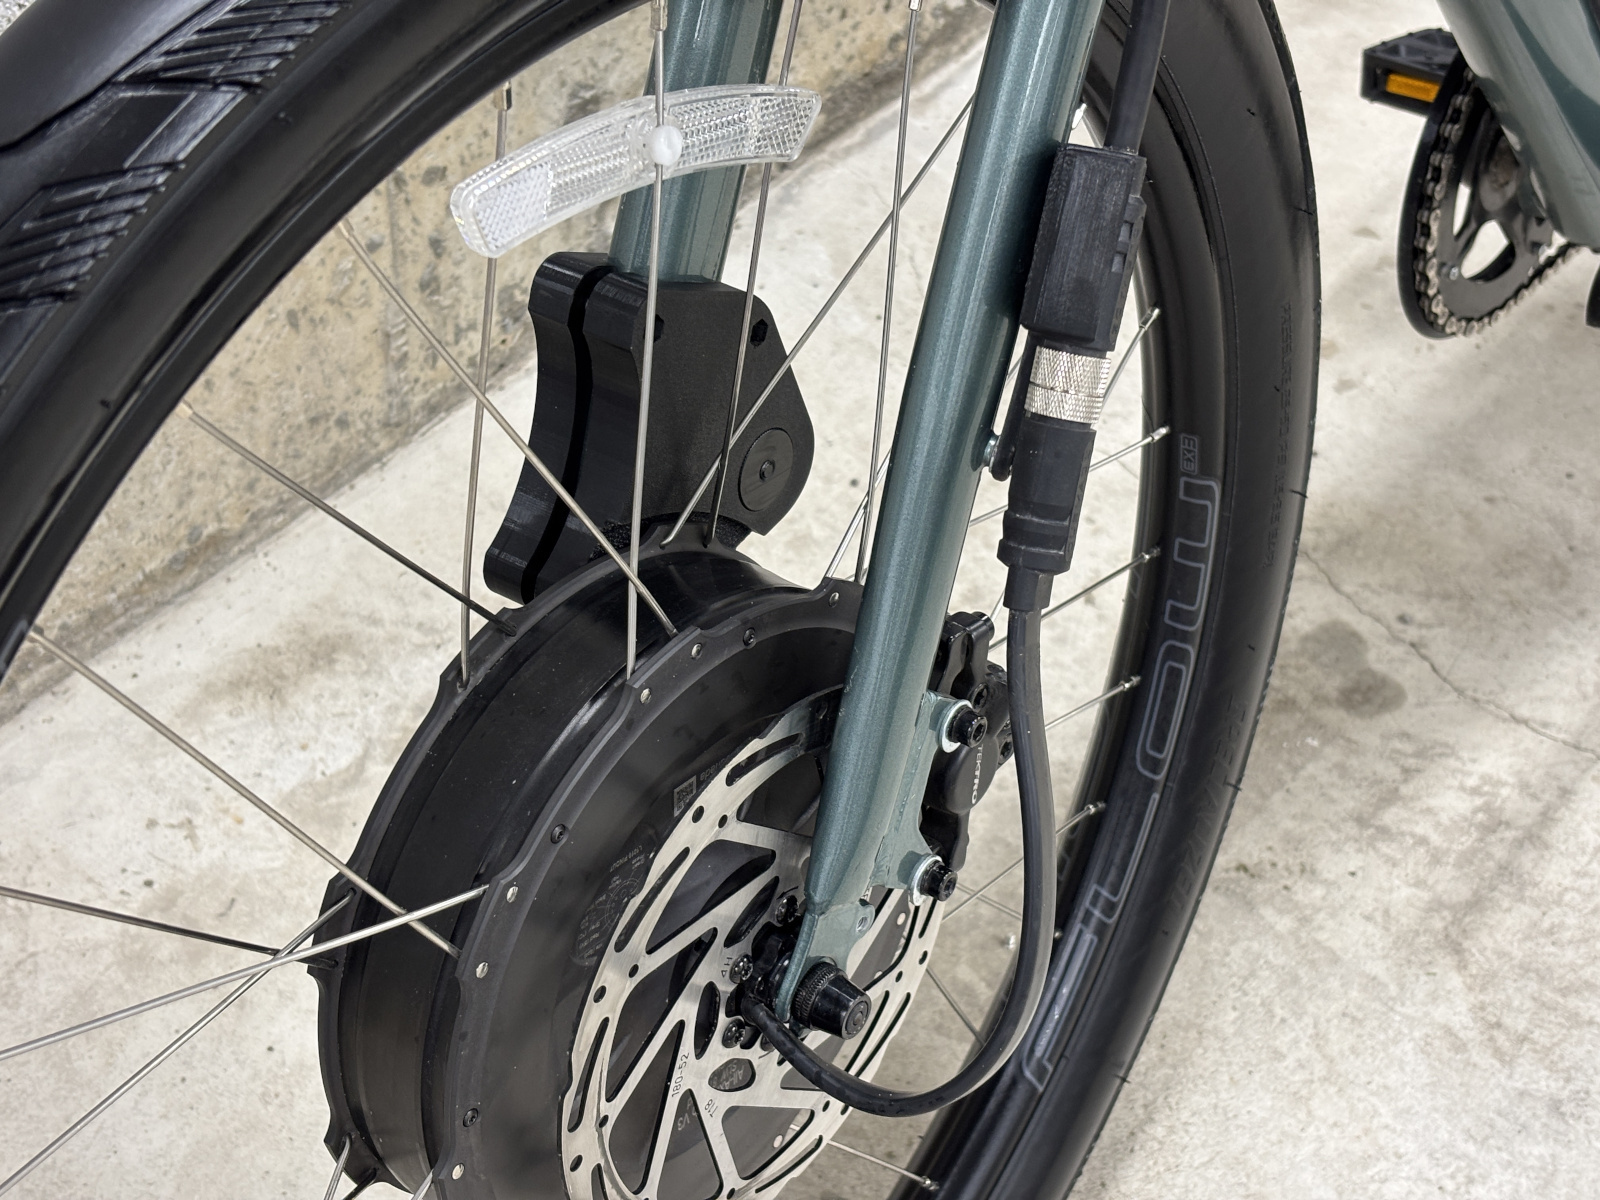
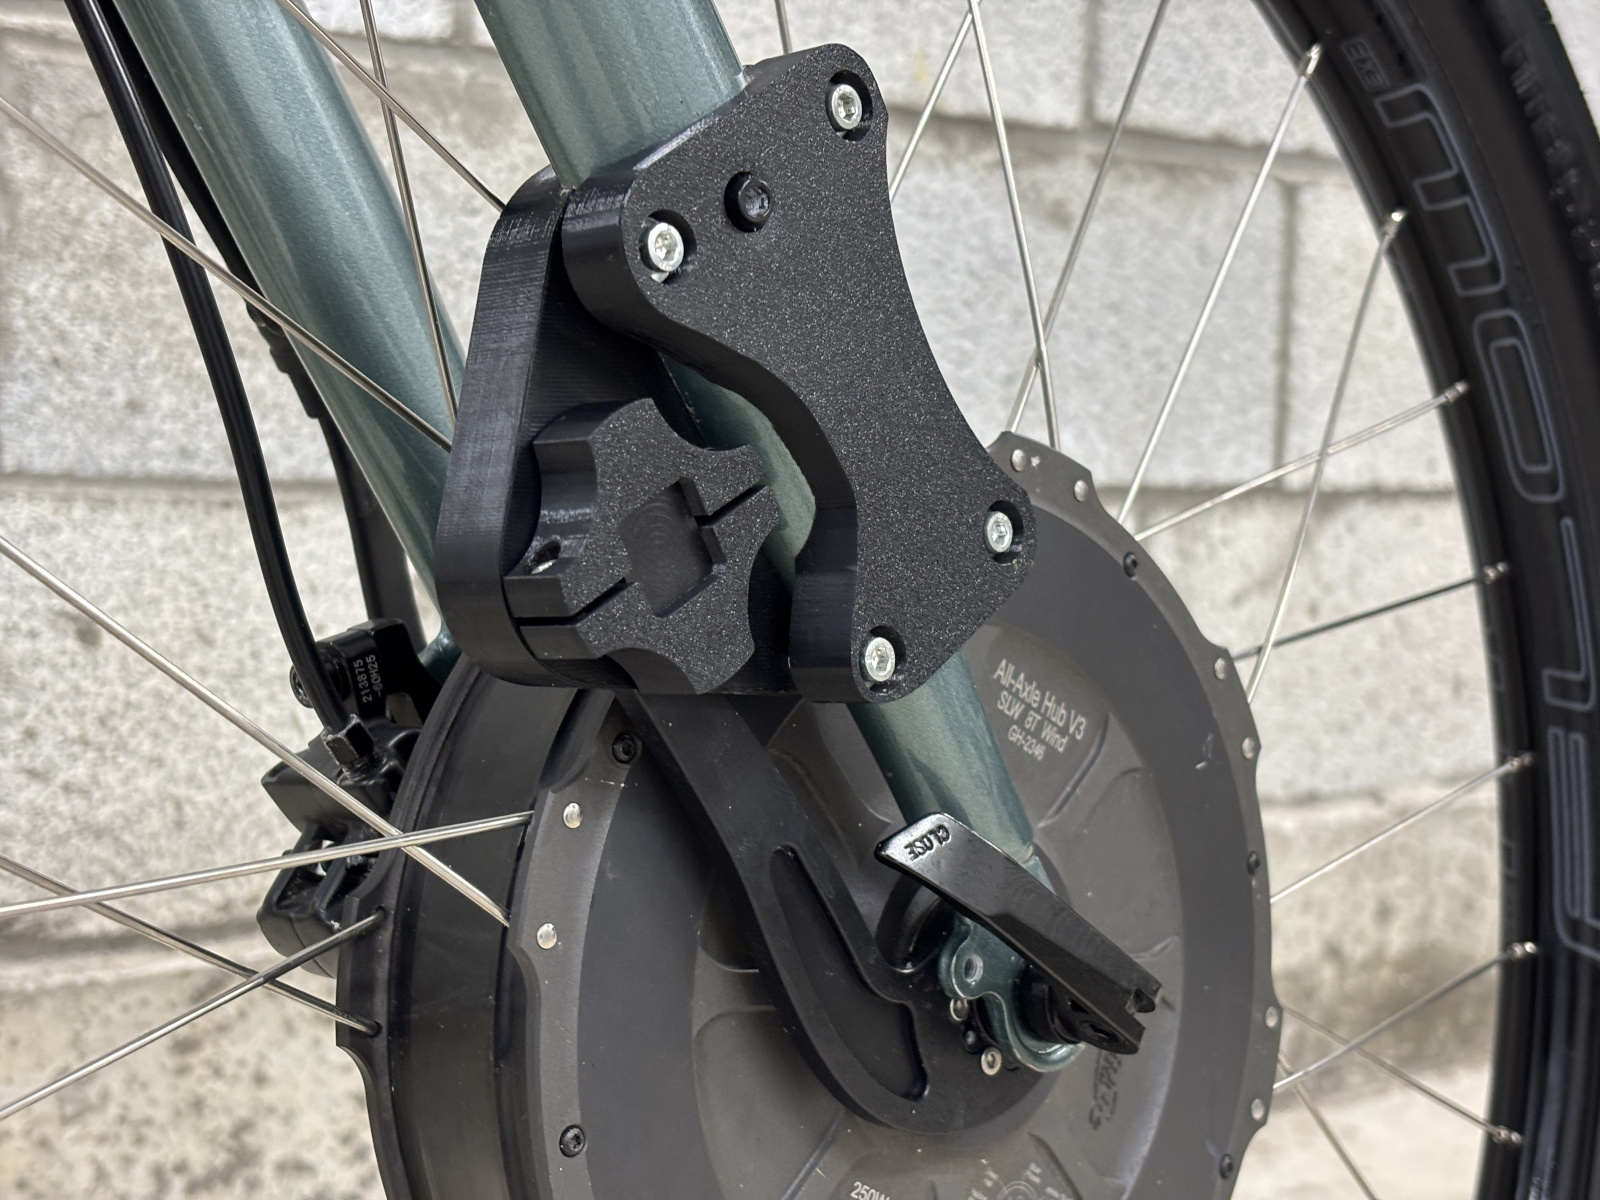
As this bike had to be easily loadable into a car, I challenged myself to make ALL mounts for the motor tool-free. I used the scanned frame model and the All-Axle CAD files to make a 3D printed two-piece holder that perfectly fits the front fork. A spare camera hot-shoe to 1/4" adapter served as the basis for a knob to secure the arm to a large surface area that the 3D print can brace against. While it creaks under heavy acceleration and regen, I've had no issues for over 1000km, and it's very easy to assemble and disassemble. (Obligatory "Don't Try This At Home!")
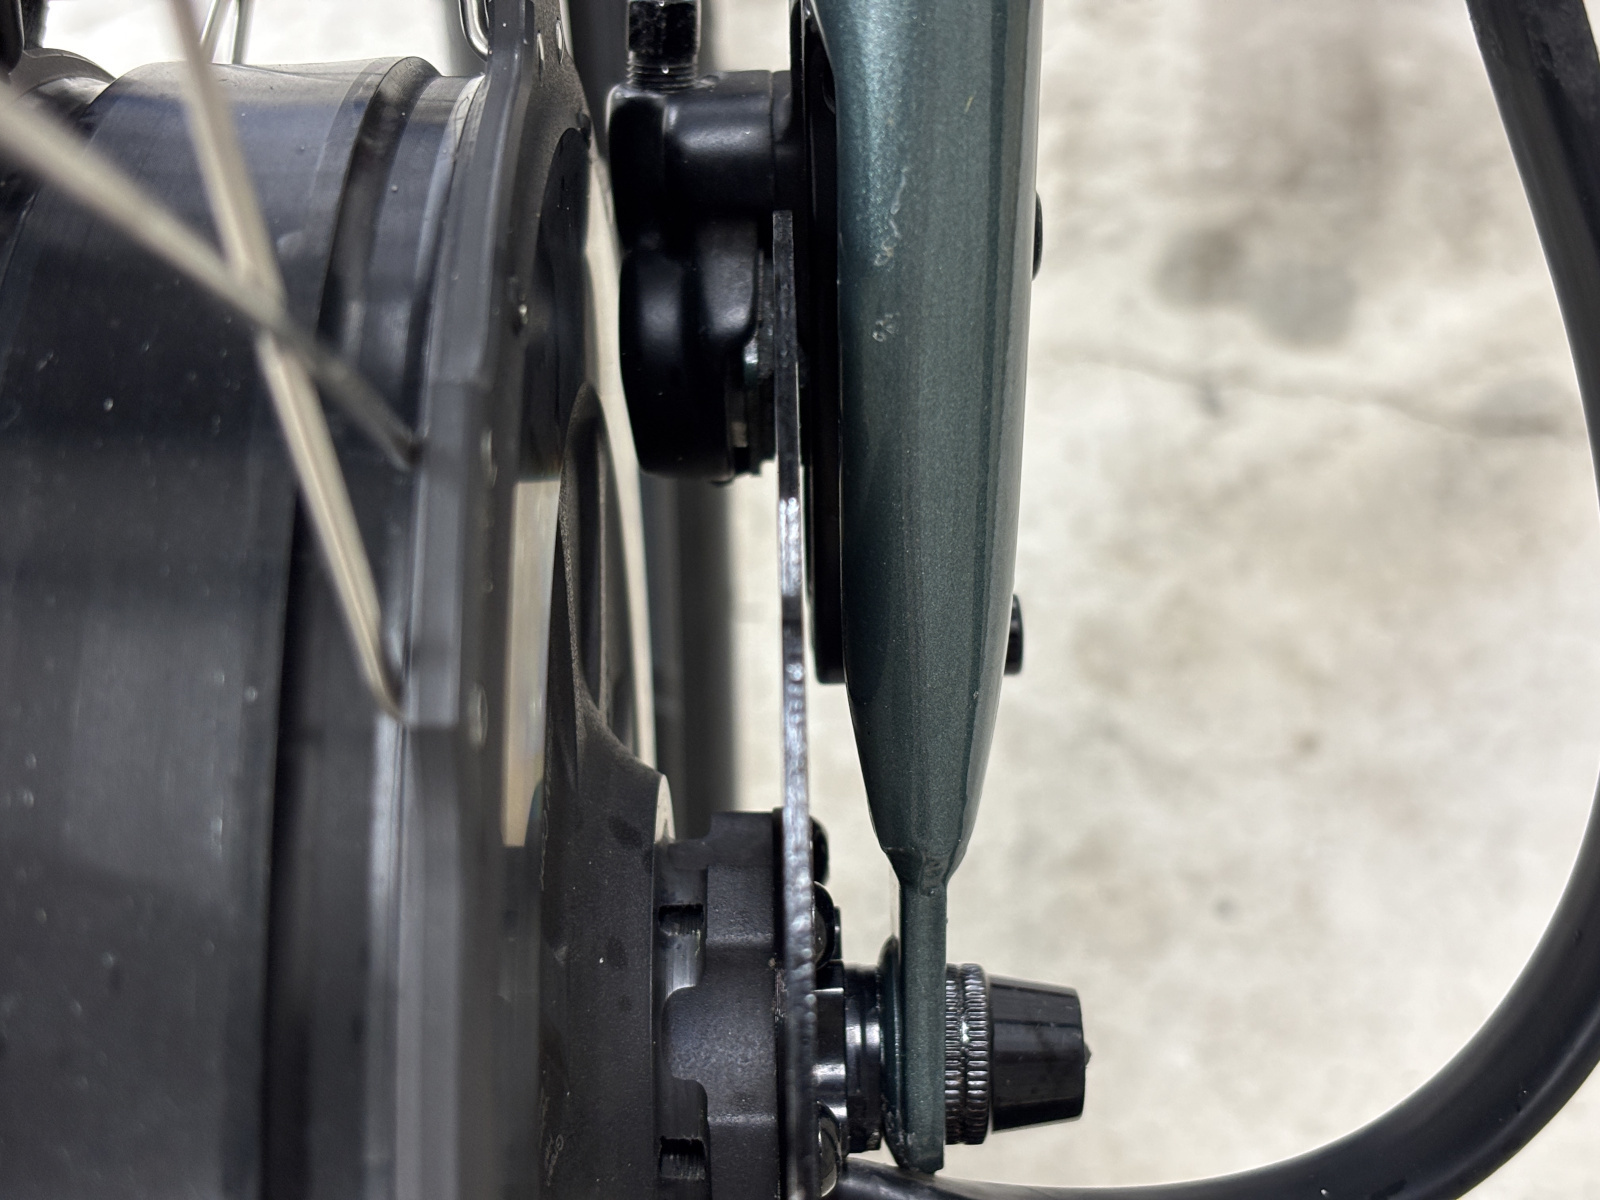
Moving to the other side of the fork, a teeny 3D printed spacer was used to perfectly nail the clearance needed for the brake caliper (with some light filing too). Another 3D print (you will notice a common theme here) helps hold the L1019 connector, again while still being easy to remove.
The Battery
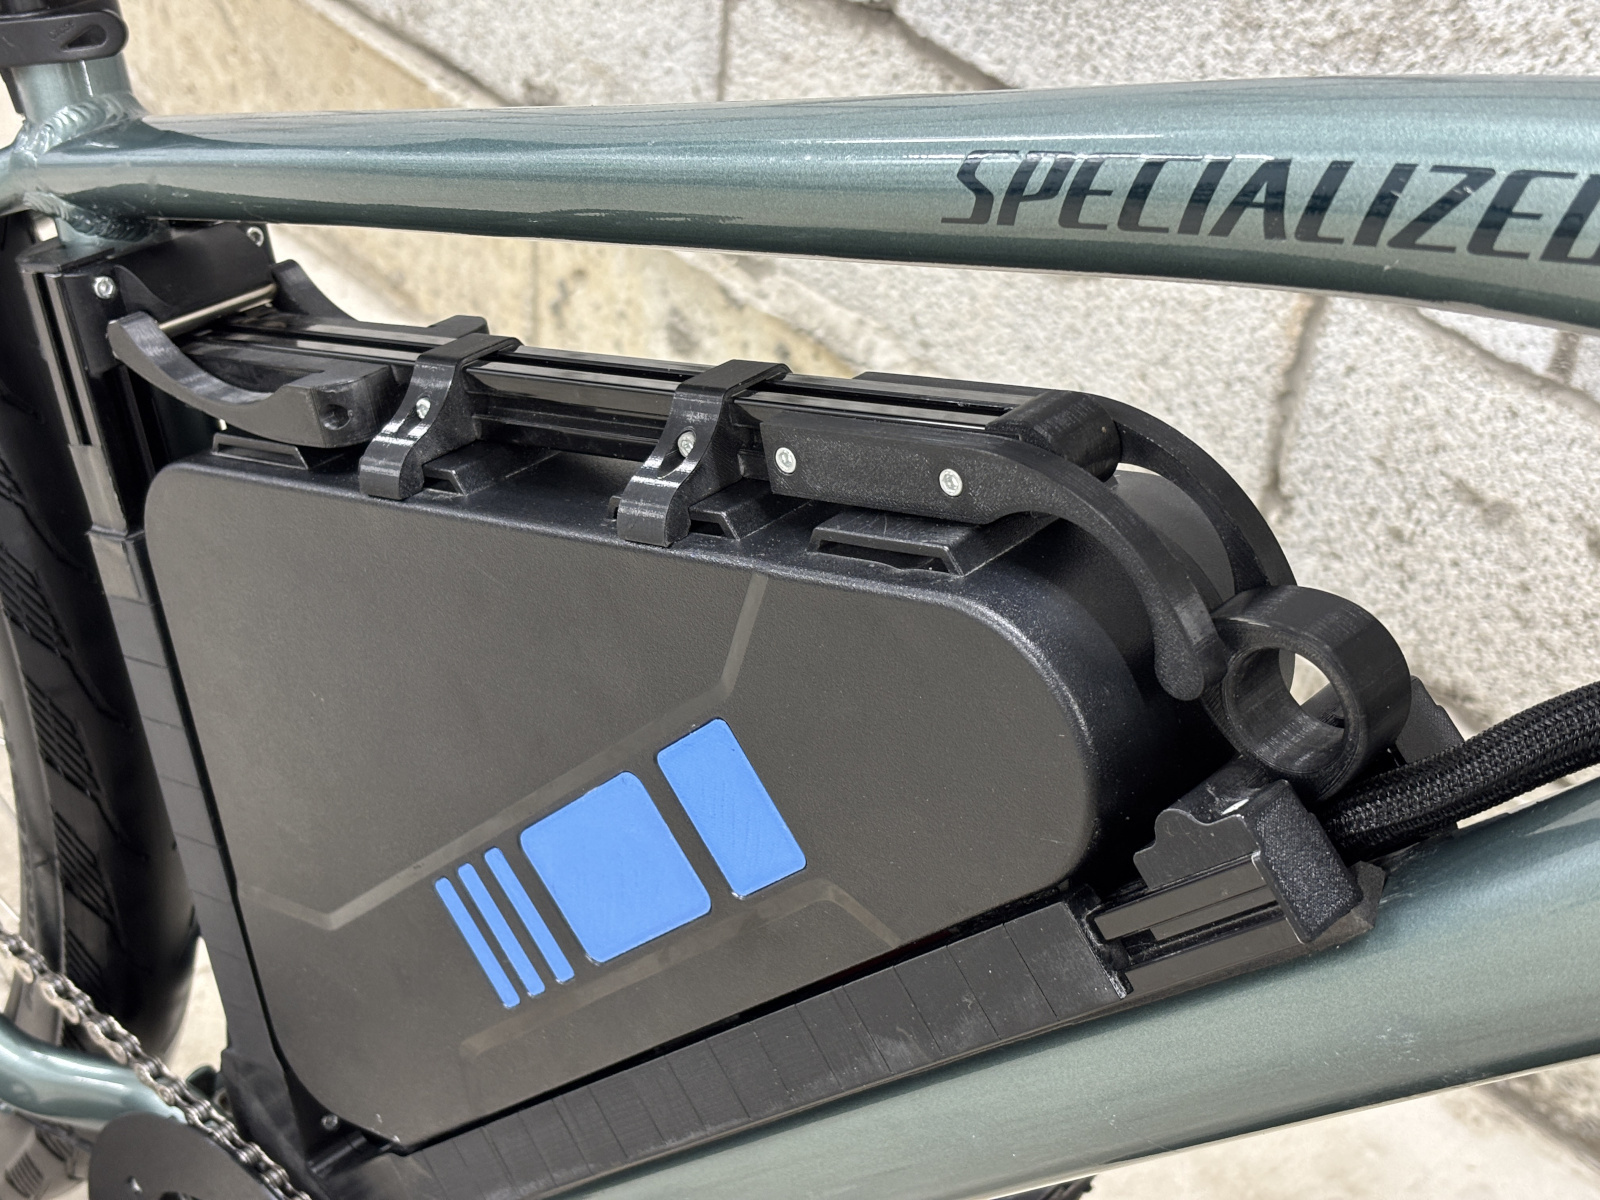
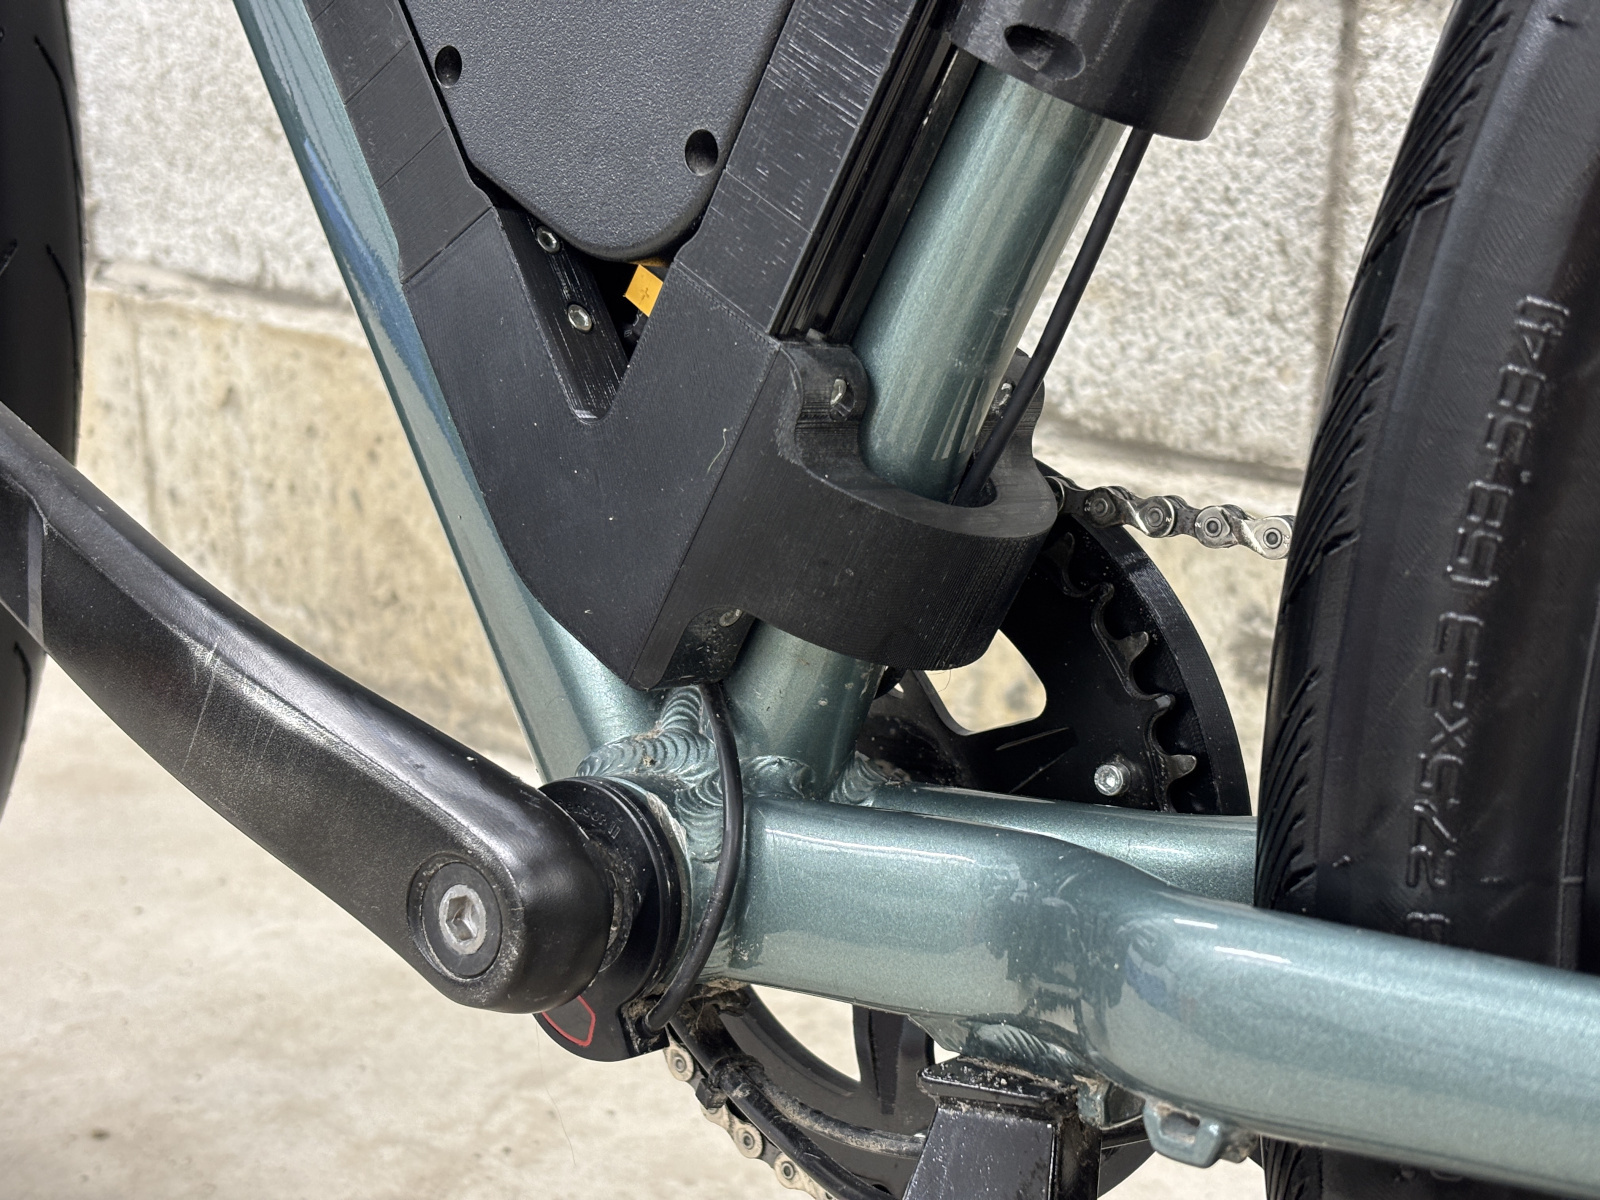
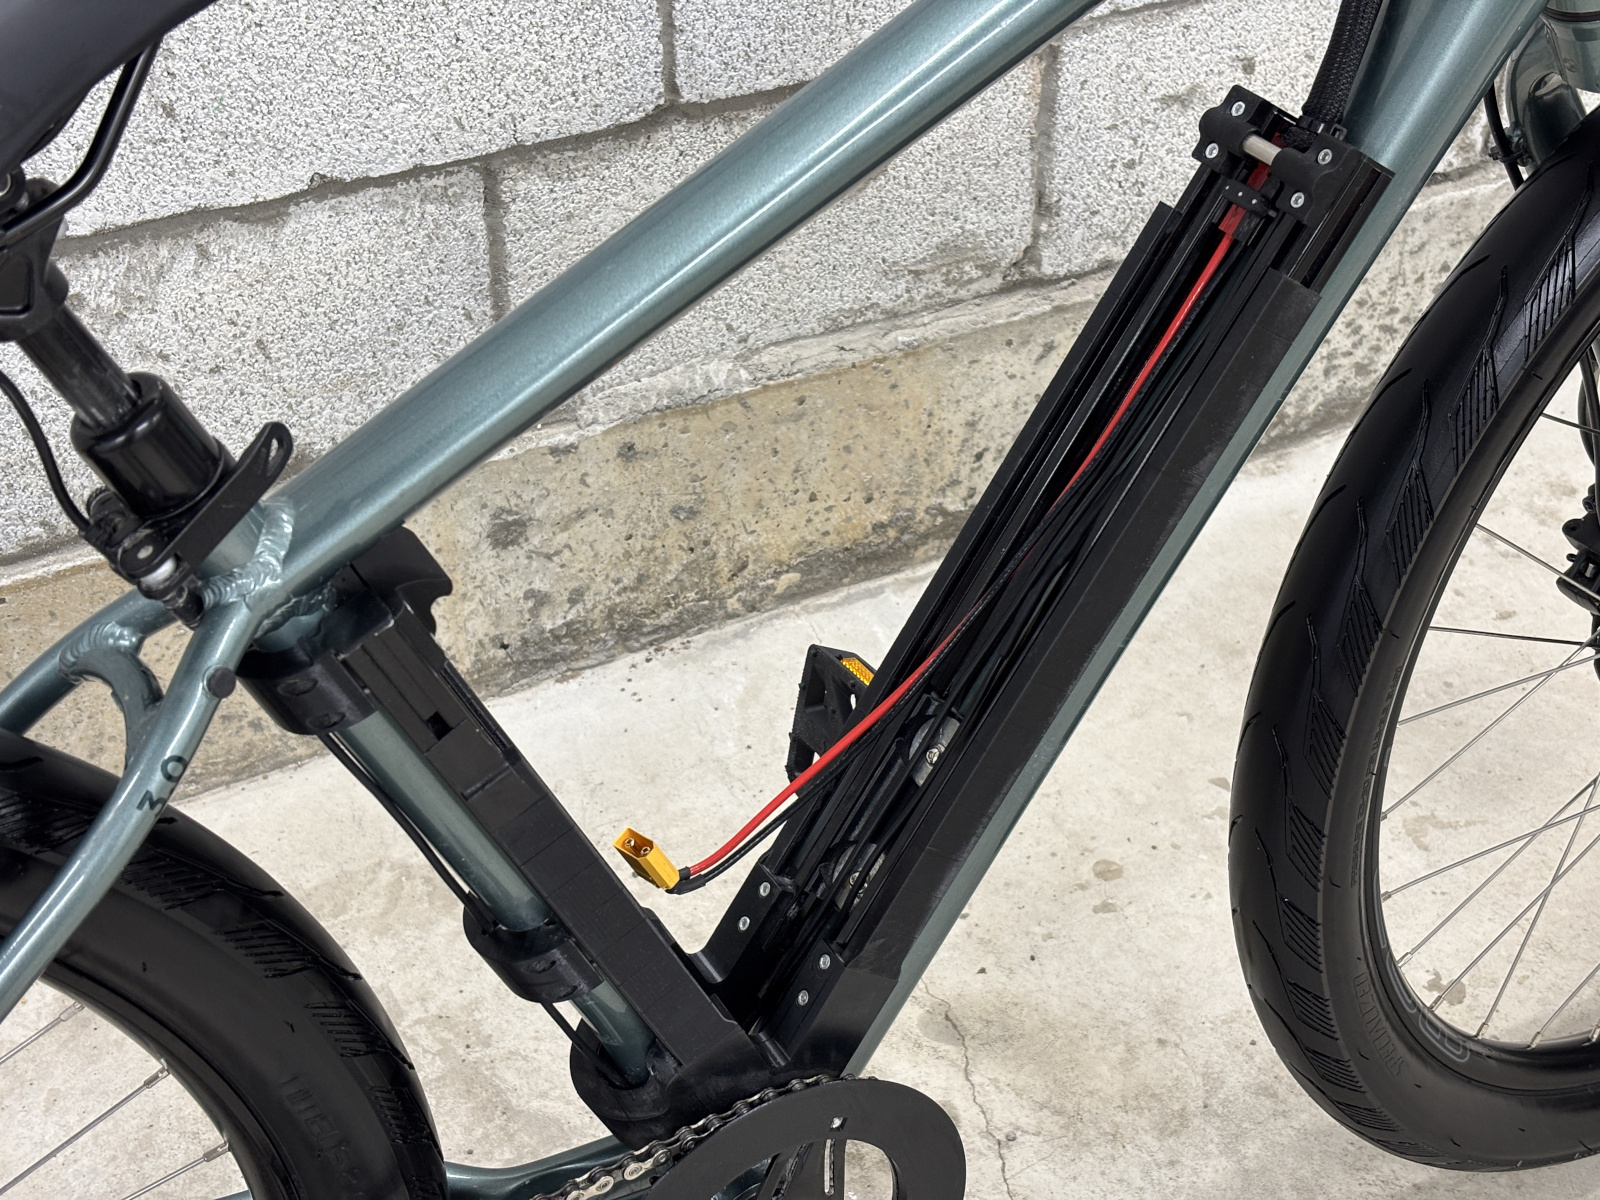
Again, I needed to be able to remove the battery easily, but the 72v triangle didn't have a convenient Reention cradle like the fuel-tank style did. Thus, I had to make a "quick-release" holder on my own. Originally I was going to 3D print the entire thing, but the size of each print plus the uncertain accuracy of the frame scan led me to reconsider. I had some pieces of 20mm aluminum extrusion from an old 3D printer that were about the same size as the sides of the battery, so I used those as the main structure with plastic as the joiners.
The final holder bolts to the eyelets and center beam of the bike frame (as its perfectly round for the seat post). A couple strips of expanding foam keep the bottom from scratching and rattling. The battery sits on the extrusions, centered around the "strap loops", and is secured by a spring-loaded beam on top. A few 8mm rods from said old printer make for low-friction surfaces to clamp on to. The channel between the bottom beams allows for hidden cable management for the battery, rear light, and PAS wires to run to the front. (And yes, contrary to the 72v 16.5a battery store page, mine did come with the "correct" coupler on the supply side)
The battery also had a couple unpopulated spots that looked reserved for stickers. While I don't have a vinyl cutter or the patience to cut with a knife, I measured the squares and printed them out with a couple thin layers of blue sample filament. The textured surface of the prints also matches the texture on the rest of the battery. Sporty!
The Cockpit
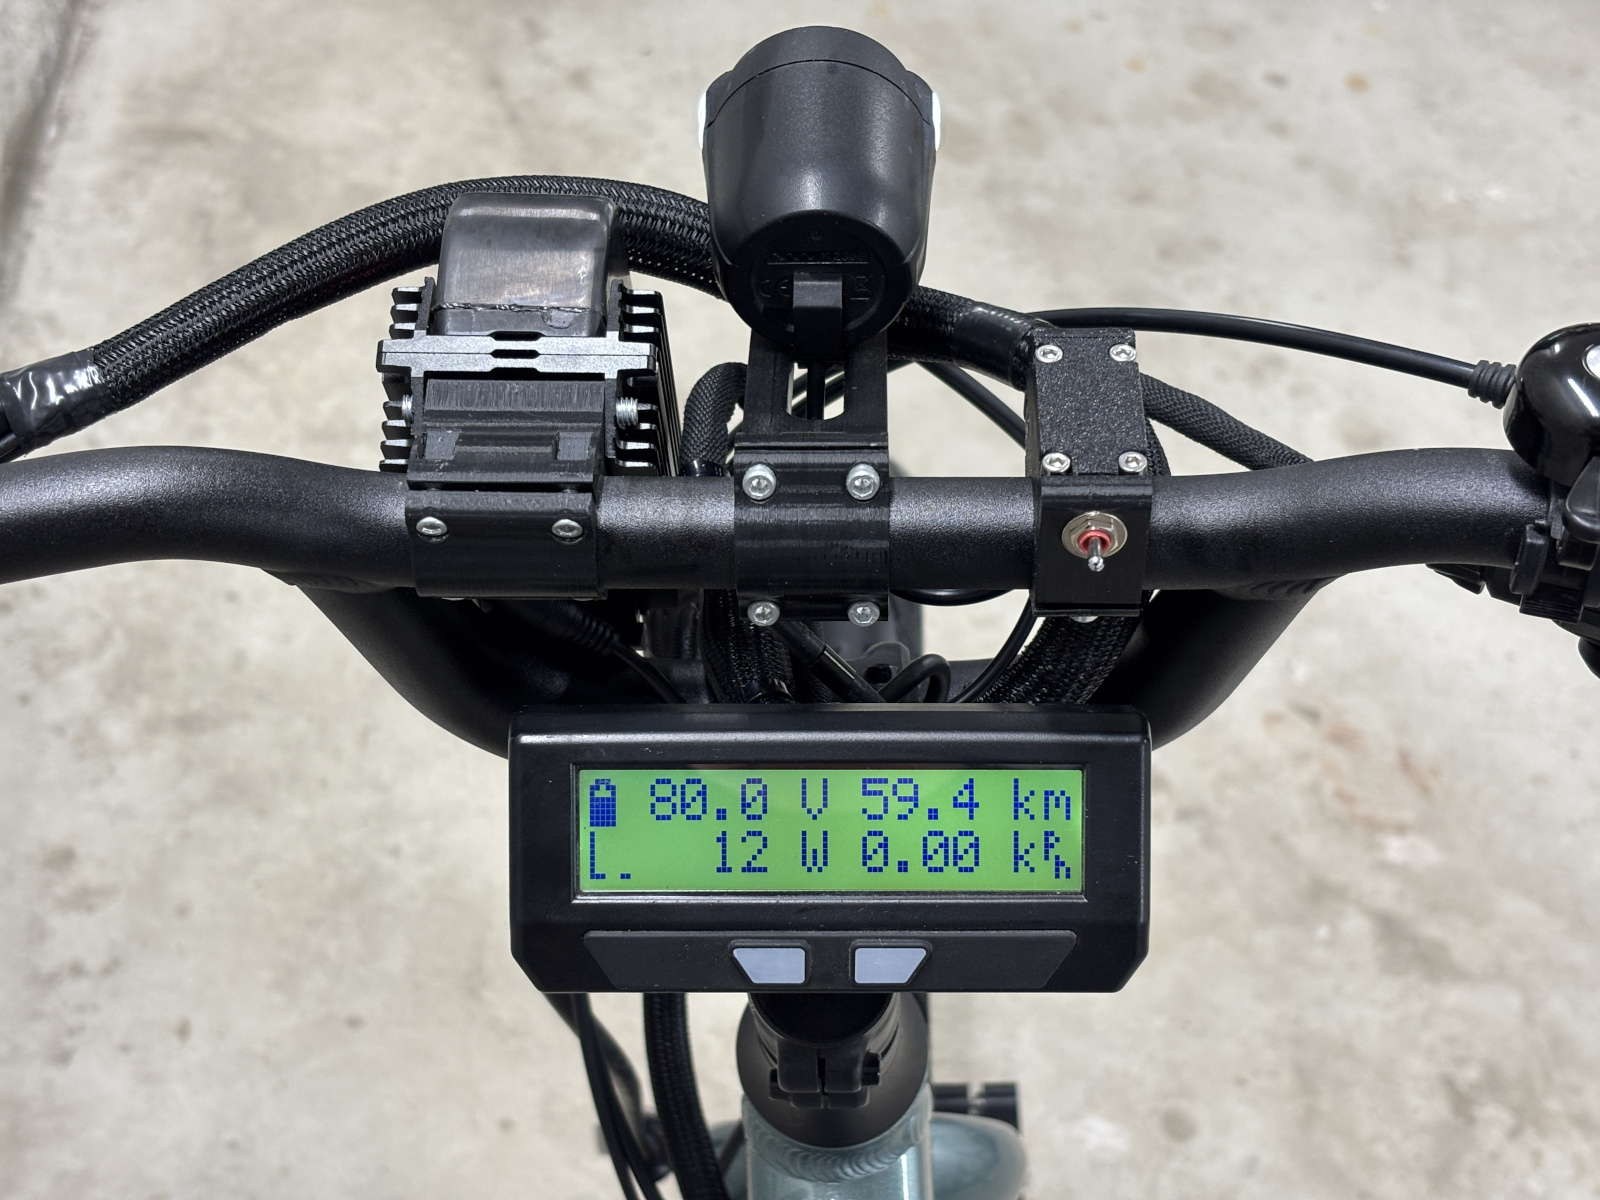
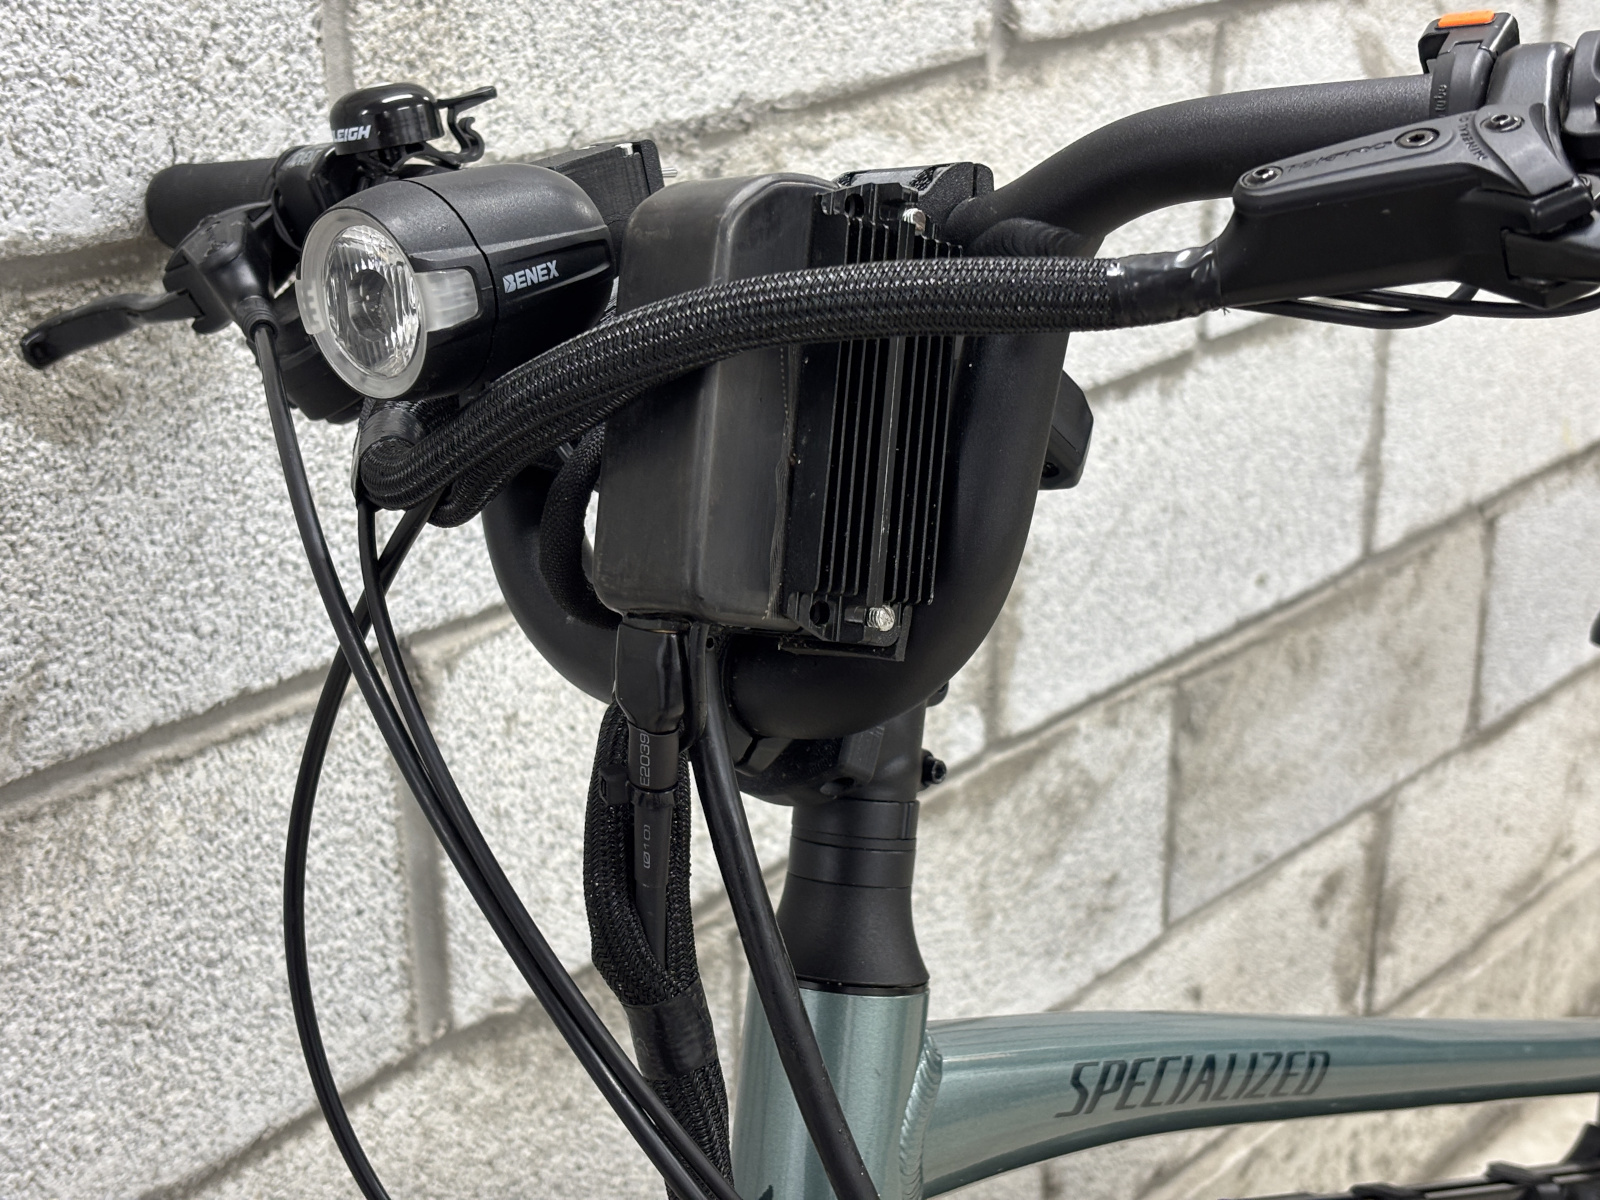
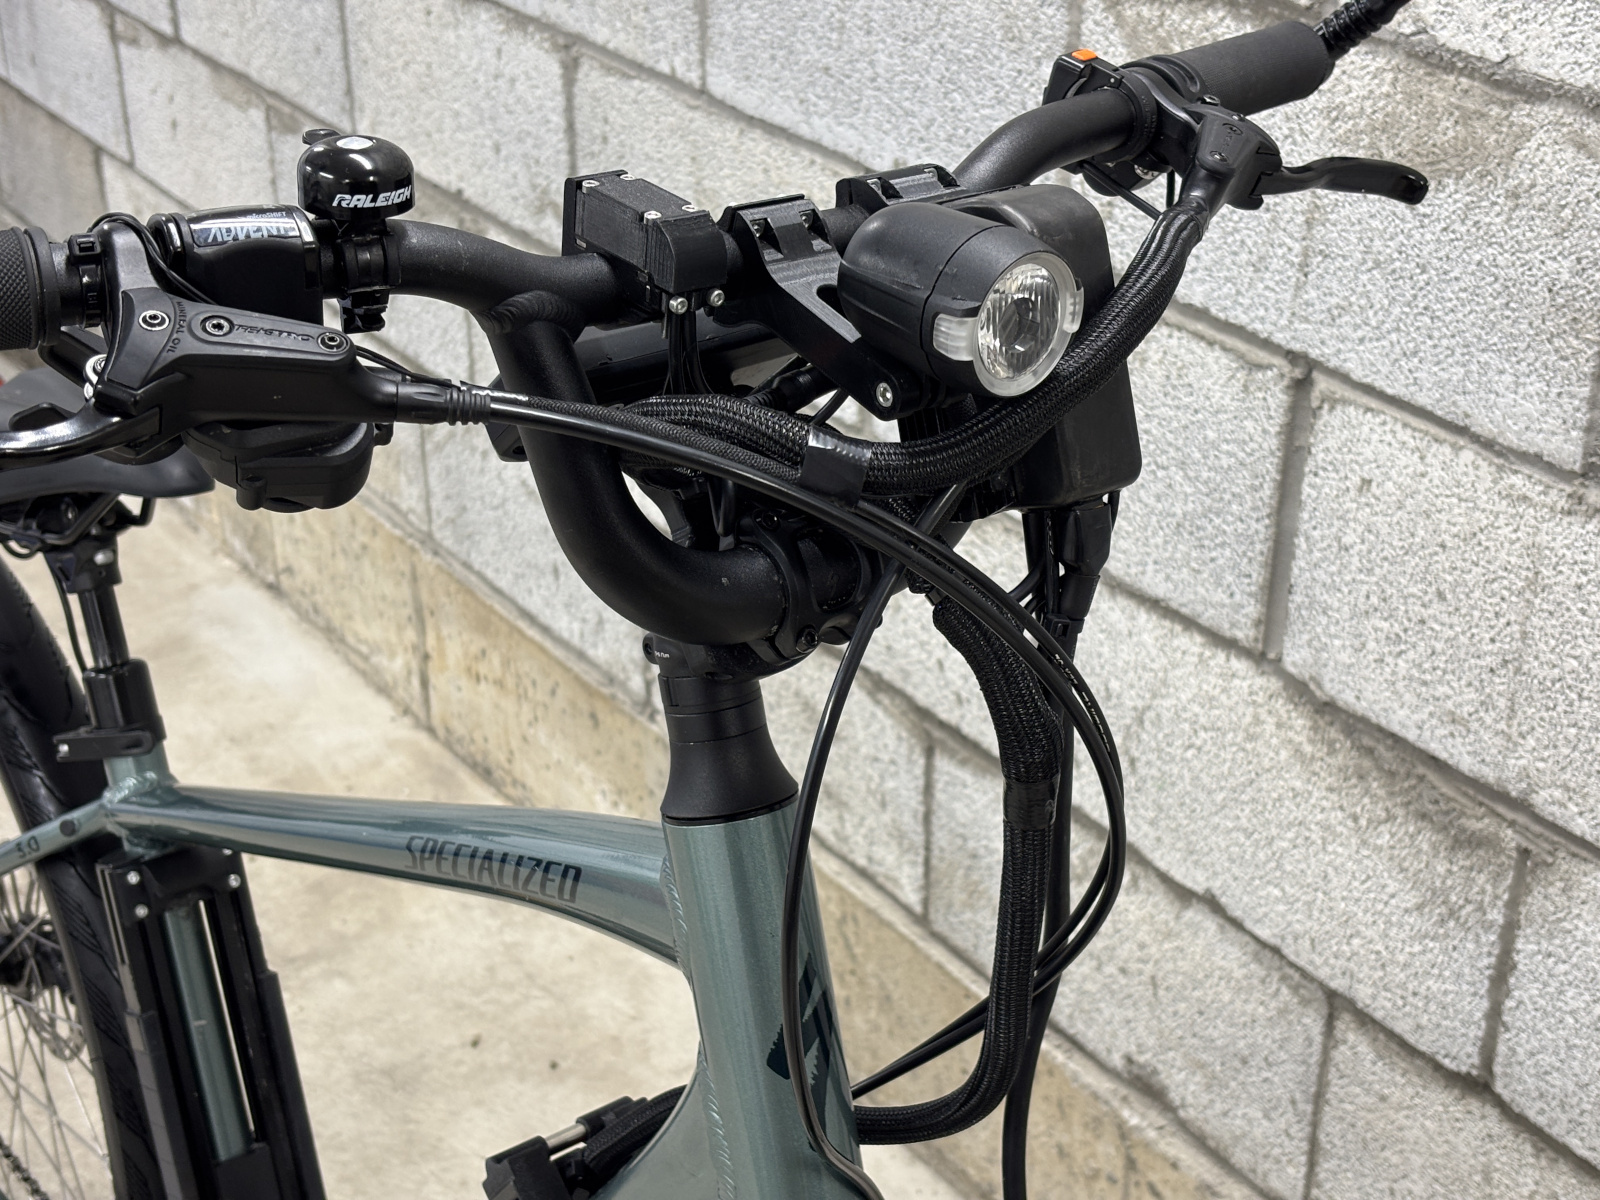
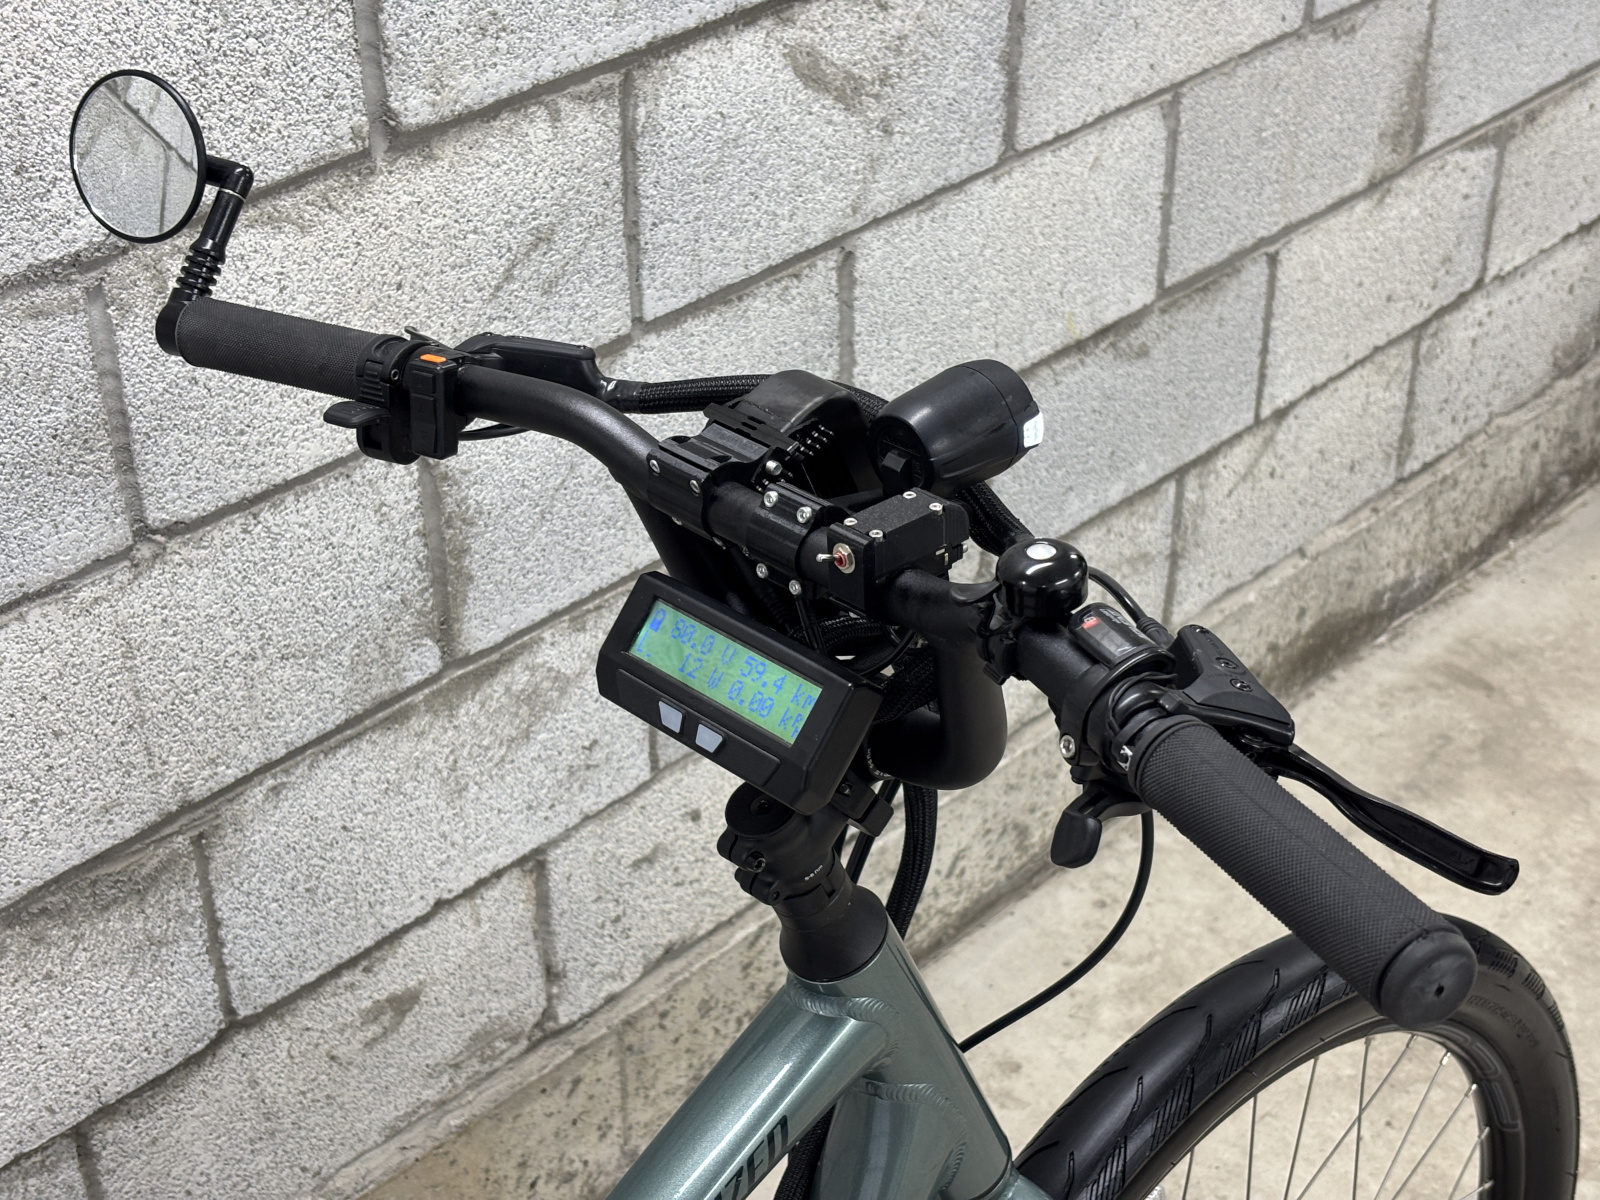
On the Roll 3.0, the BMX-style handlebars offered great potential with mounting for controls and cable management. I mounted the CA3 right off the stem with another 3D printed mount for a "floating" position that remains hidden from the front view. The headlight also needed a custom mount along with a switch which I will cover later.
I also made the unconventional decision to mount the Phaserunner off the handlebars as the L1019 cable isn't replaceable, and the handlebars will turn and twist as you ride a bike. I could've used the extension cable as the "bending" portion of cable, but that means more cable resistance and more couplers to heat up under high load. With 2x heat sinks attached, I hung the controller off another custom mount, and it's still quite discrete. The biggest issue I have with this setup is sometimes the XT60 loosens itself out slowly. Not being a latching coupler, I might have to make an extra arm off the mount that holds it in somehow..
The CA3 and PR being close to each other also made cable management easier. I had to shorten the CA3 cable to avoid a ton of slack, and the rest of the cabling was tidied up with sleeving and tucked in that "BMX cavity".
The Lights
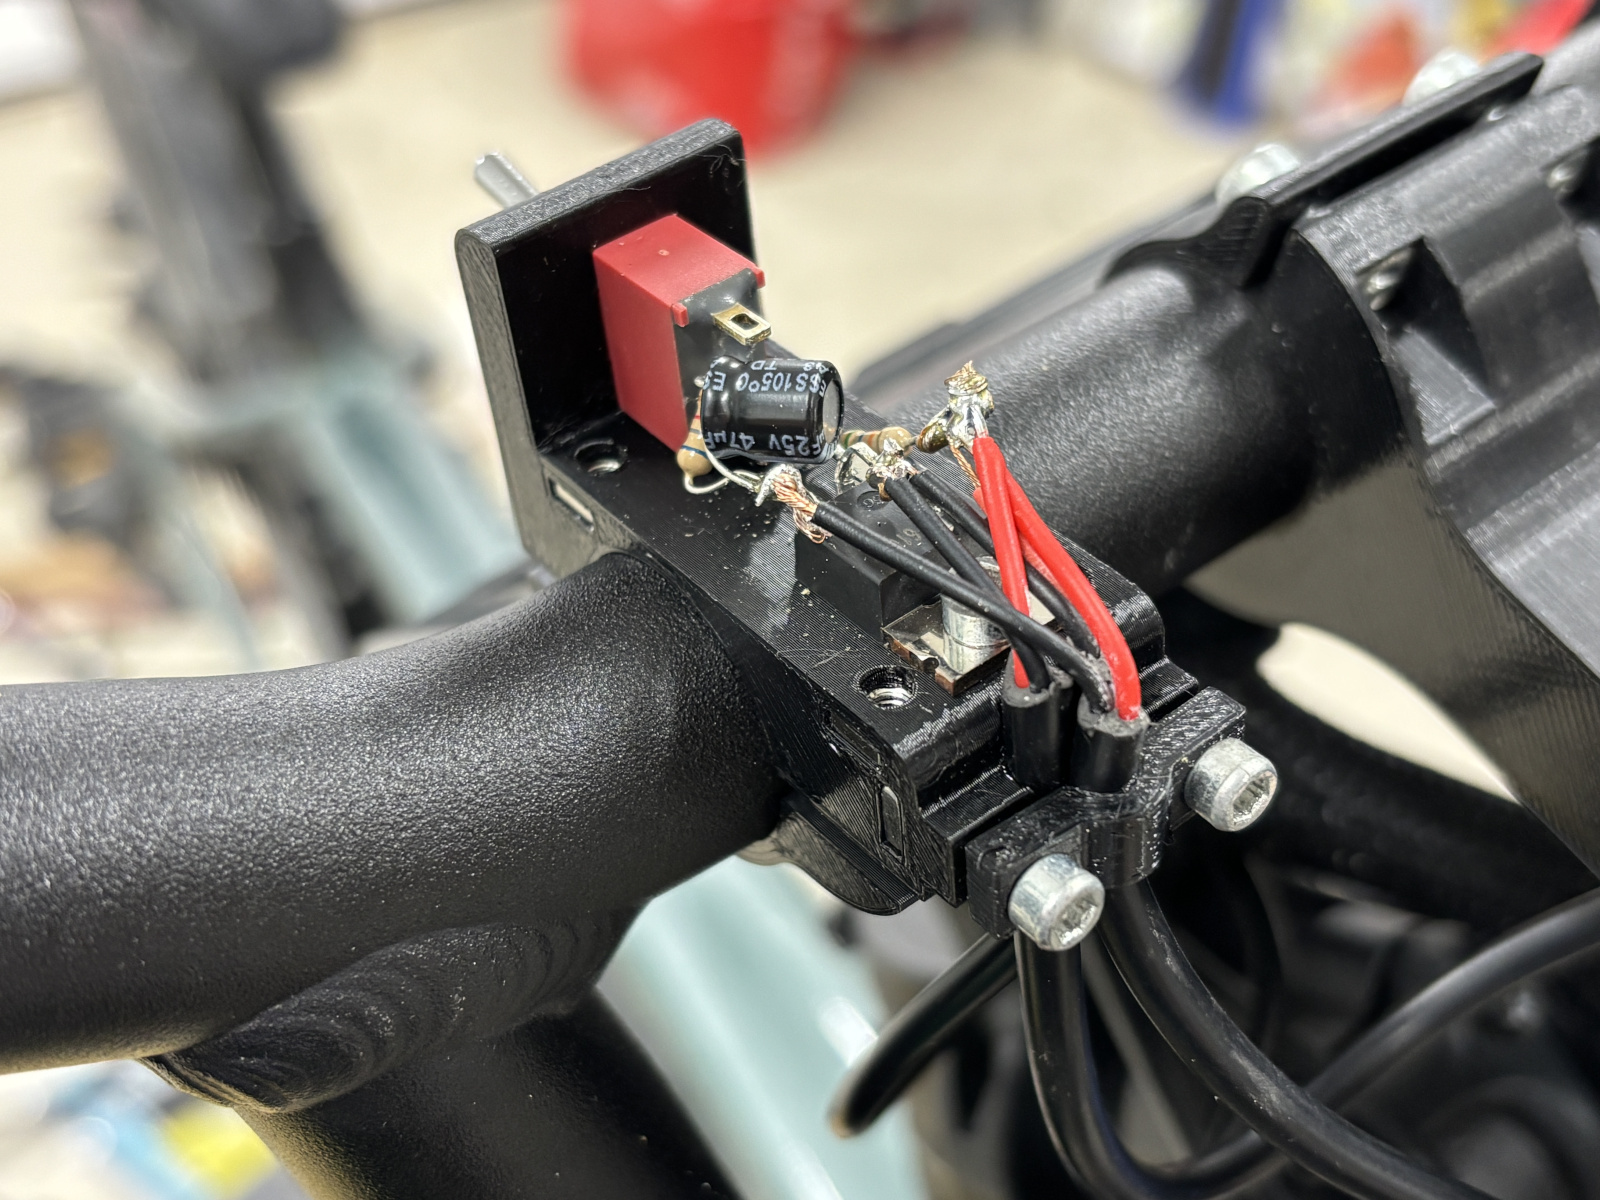
The 72v-compatible headlight supplied by GRIN is an excellent unit. Very bright. Works well. However, it doesn't come with a power switch. I thought I could easily just add a switch inline, but simply plugging it in while the bike is powered results in a loud ZAP, a charred connector, and the CA3 rebooting. Hooking it up to my oscilloscope showed over 10 amps drawn in an instant as the flexible supply inside the light charges up. A standard inline switch simply would not do.
With the help of a friend (Thank you again, you know who you are), I made a slow-start circuit with a MOSFET and RC timer circuit. This slowly applies power when switched on to avoid the massive inrush current on the light and allow on-the-fly operation without resetting the rest of the bike. The free-hand circuitry was confirmed before being slathered in hot glue and covered up.
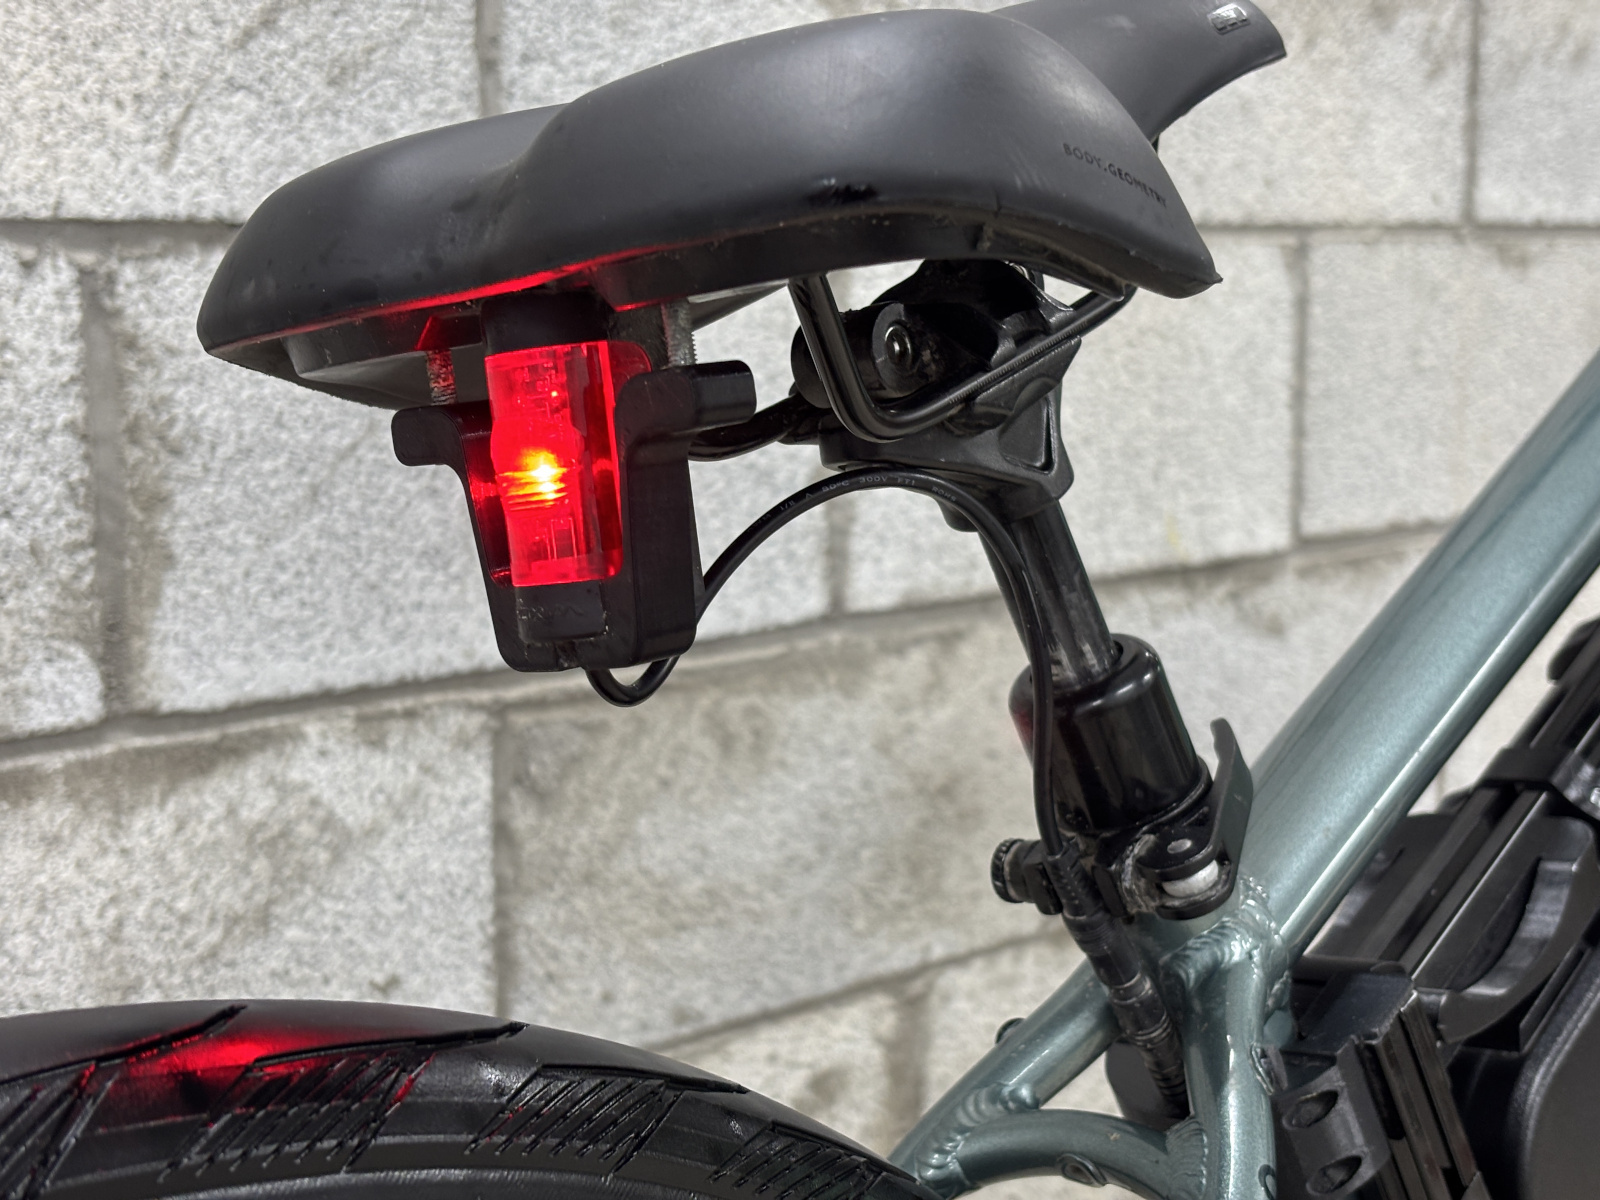
The tail light also runs off this light switch, and is bolted to a couple M5 nuts conveniently in the rear of the seat. It otherwise would not fit traditionally as the Roll 3.0 has a moving spring seat post (Which is a bit poor quality, but it can be tightened up to not move at all)
Conclusion
Overall, I'm very happy with the way this bike turned out. As mentioned, I've clocked over 1000 Km on it and it's very easy to take apart to load into my car. It's quick to accelerate, and the balloon tires absorb small bumps with ease. It's definitely something I will be tinkering and adding to for years to come.
Even though I might've loved a rear motor a bit more, the front-drive configuration is still fun and very capable. The only place it lacks is going uphill on dirt trails, which given the zero tread on the tires is an absolute worst-case scenario. It does have a very unique feeling with the front wheel pulling itself over loose terrain, however.
Big thanks to GRIN for making some incredible products!