
 Canadian
Second Wind
Canada, BC
|
316
Published: 2025-09-09
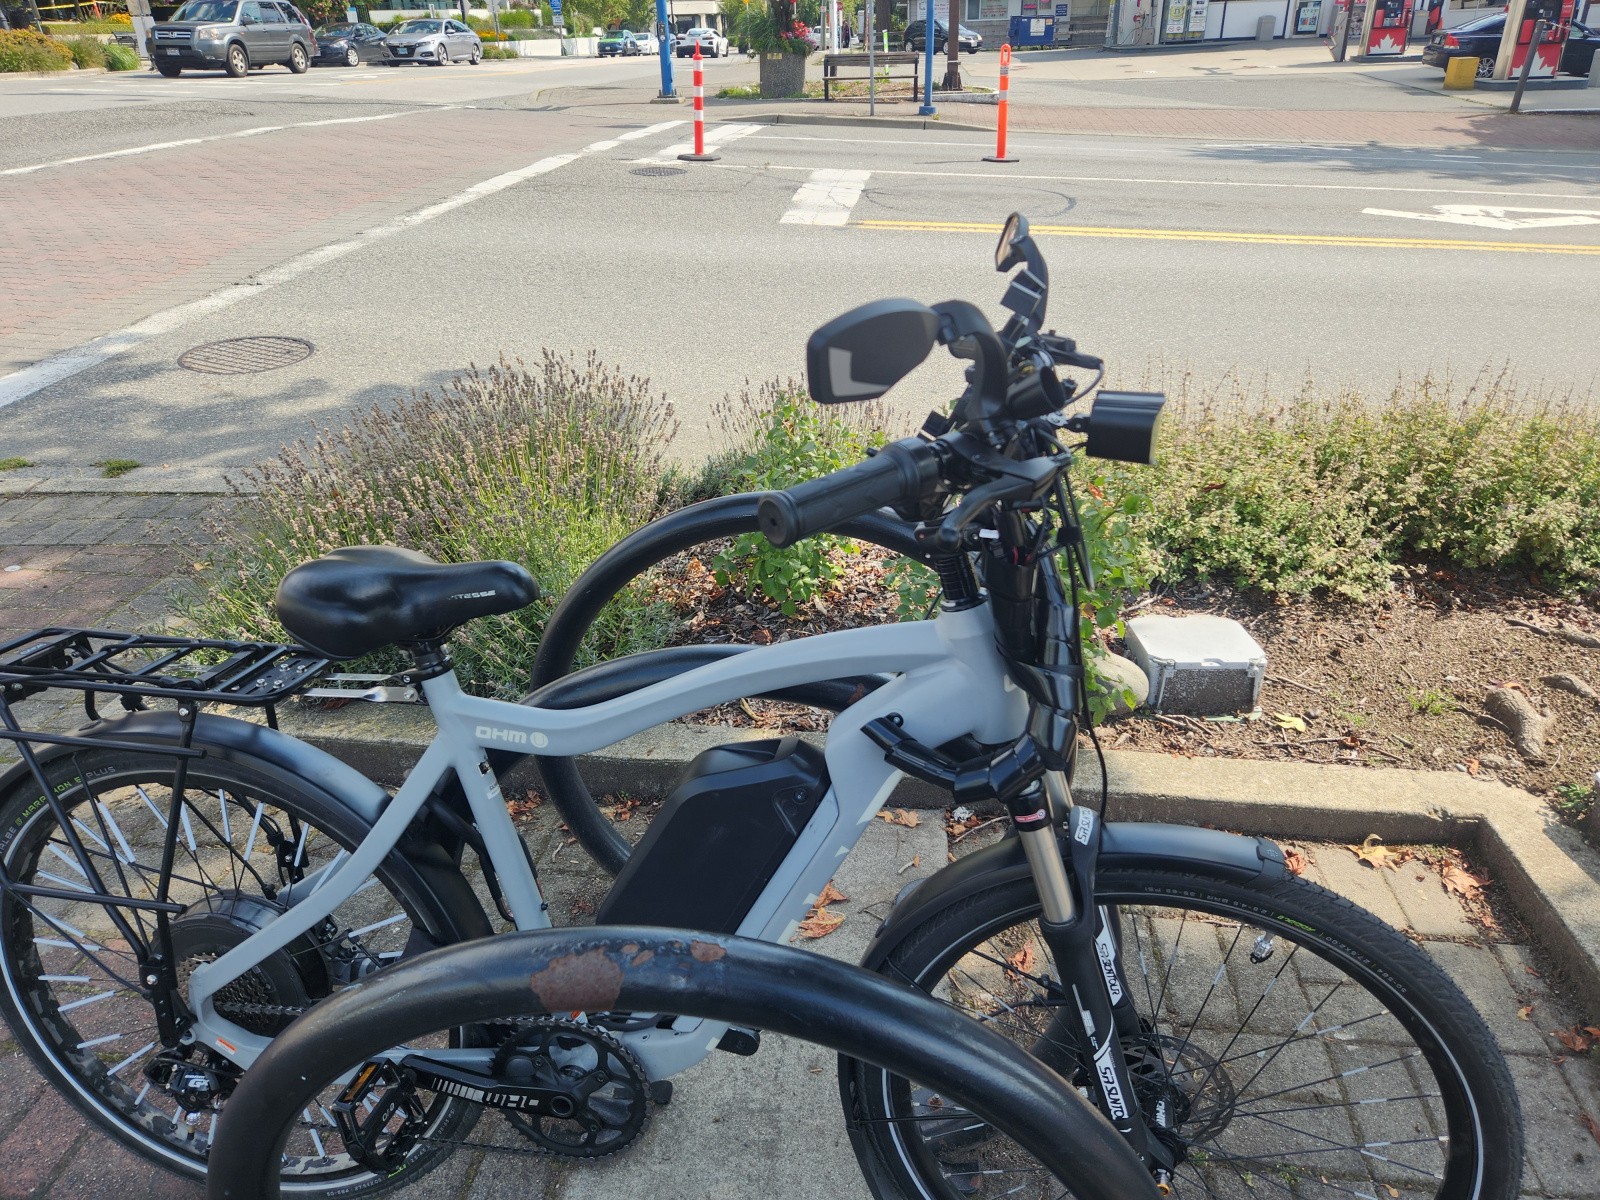
I've grown tired of using my car for everything and I wanted to explore how I could use an e-bike for errands and commuting. This bike is actually the second attempt at making an e-bike, as the first bike had a lot of problems regarding the frame's compatibility with components. I got tired of fixing it and decided to transplant the e-bike stuff onto a new frame.
This new bike handles all local trips easily, plus it fits in the bike racks on Translink buses. To commute from South Surrey to YVR, one way is ~11km of riding and $2.70 for the bus fee. This whole project has been about a year in the making and I've learned a lot.
Big thanks to my friend Albert at Grin for helping me with this project!


First Wind?
This is the original e-bike that I ultimately gave up on. This bicycle was essentially built from the ground up but proved to be unreliable. On the maiden voyage the bicycle chain broke! I had to use the throttle all the way from North Delta to South Surrey at 2 AM.
Problems included:
- Repeated breaking of the handlebar stem bolts
- Handlebar could never be secured and always pitched up
- Was unable to use the first 3 gears
- Initial crankset was contacting the chain stay
- Derailleur broke
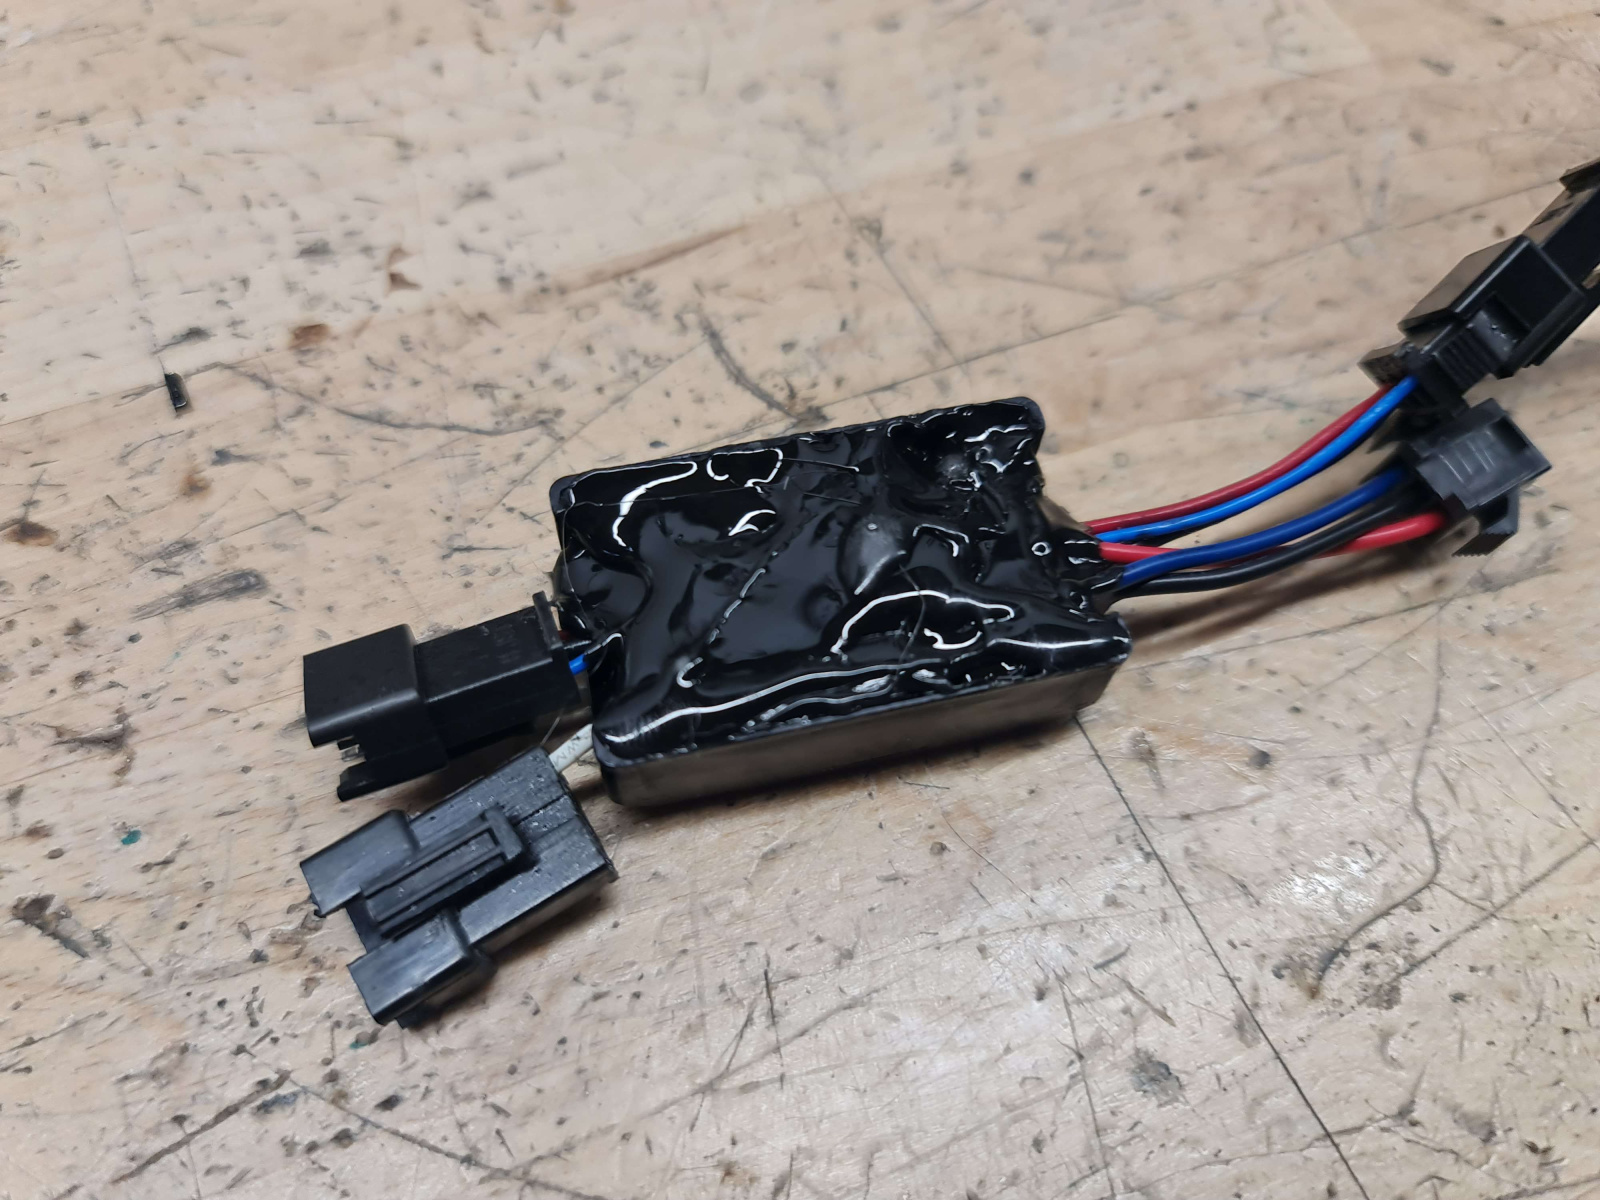
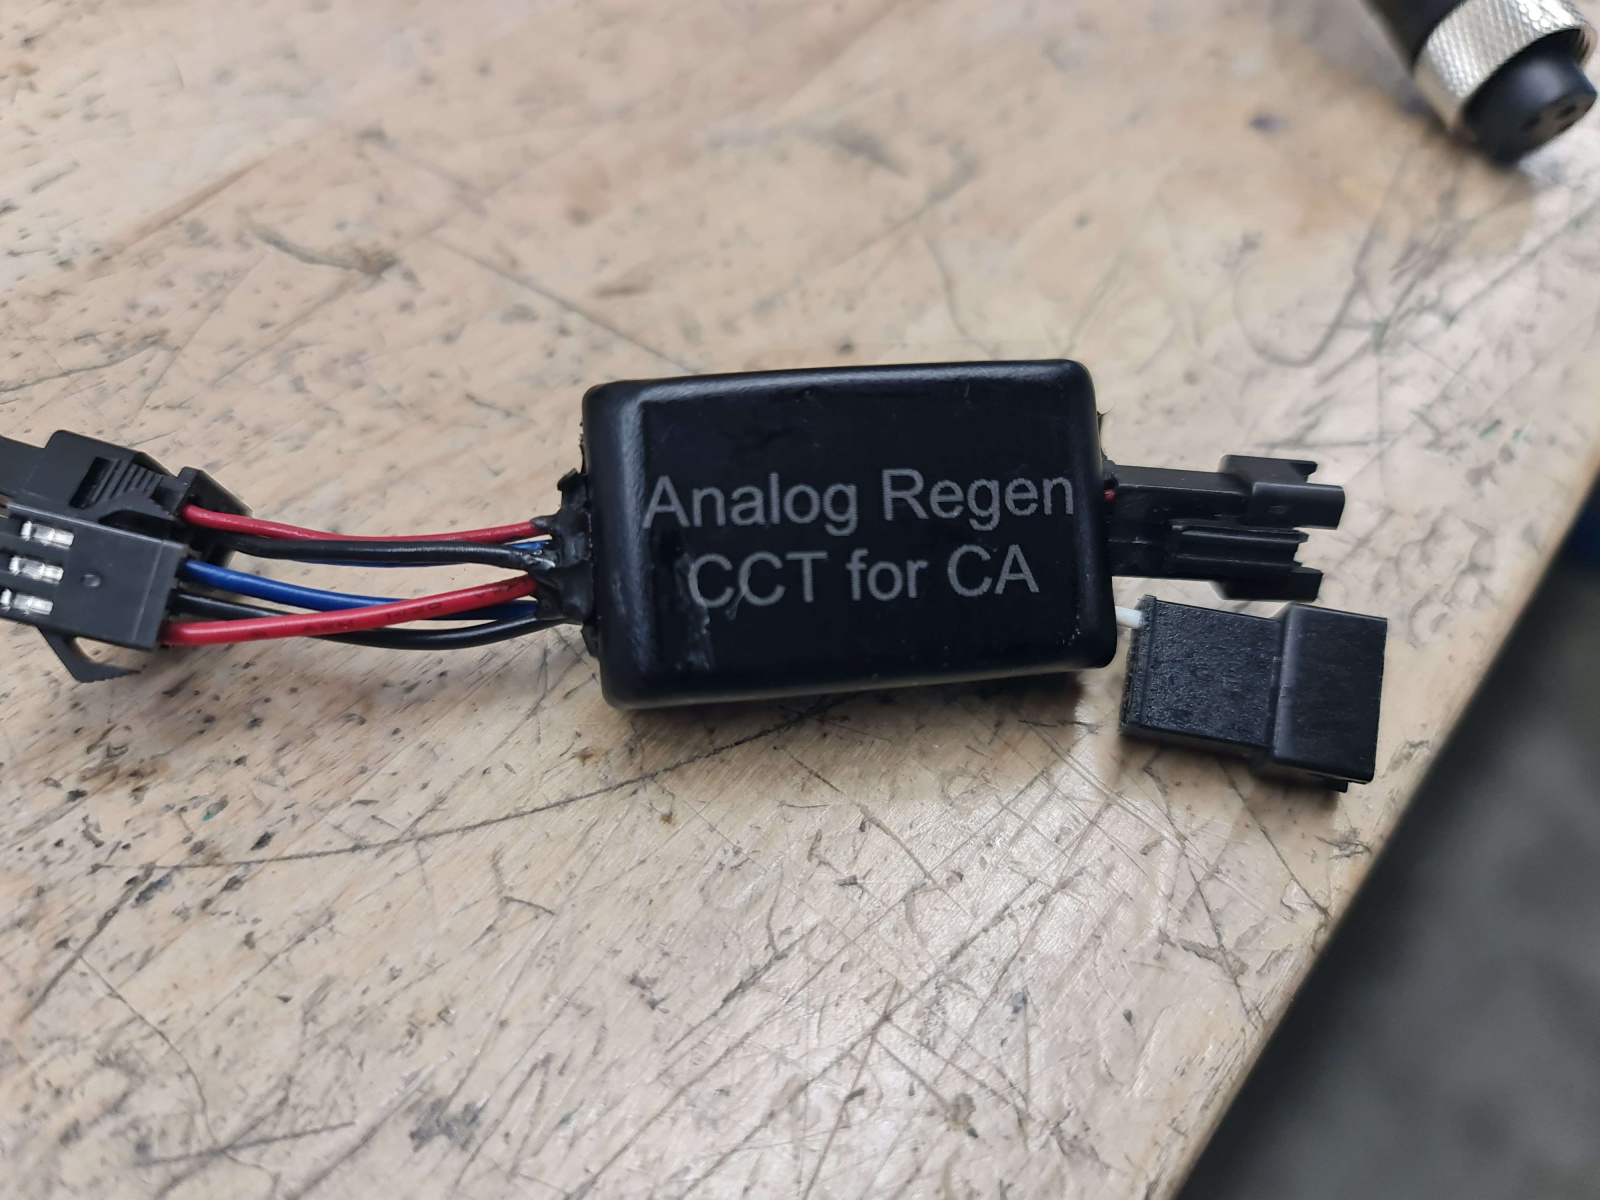
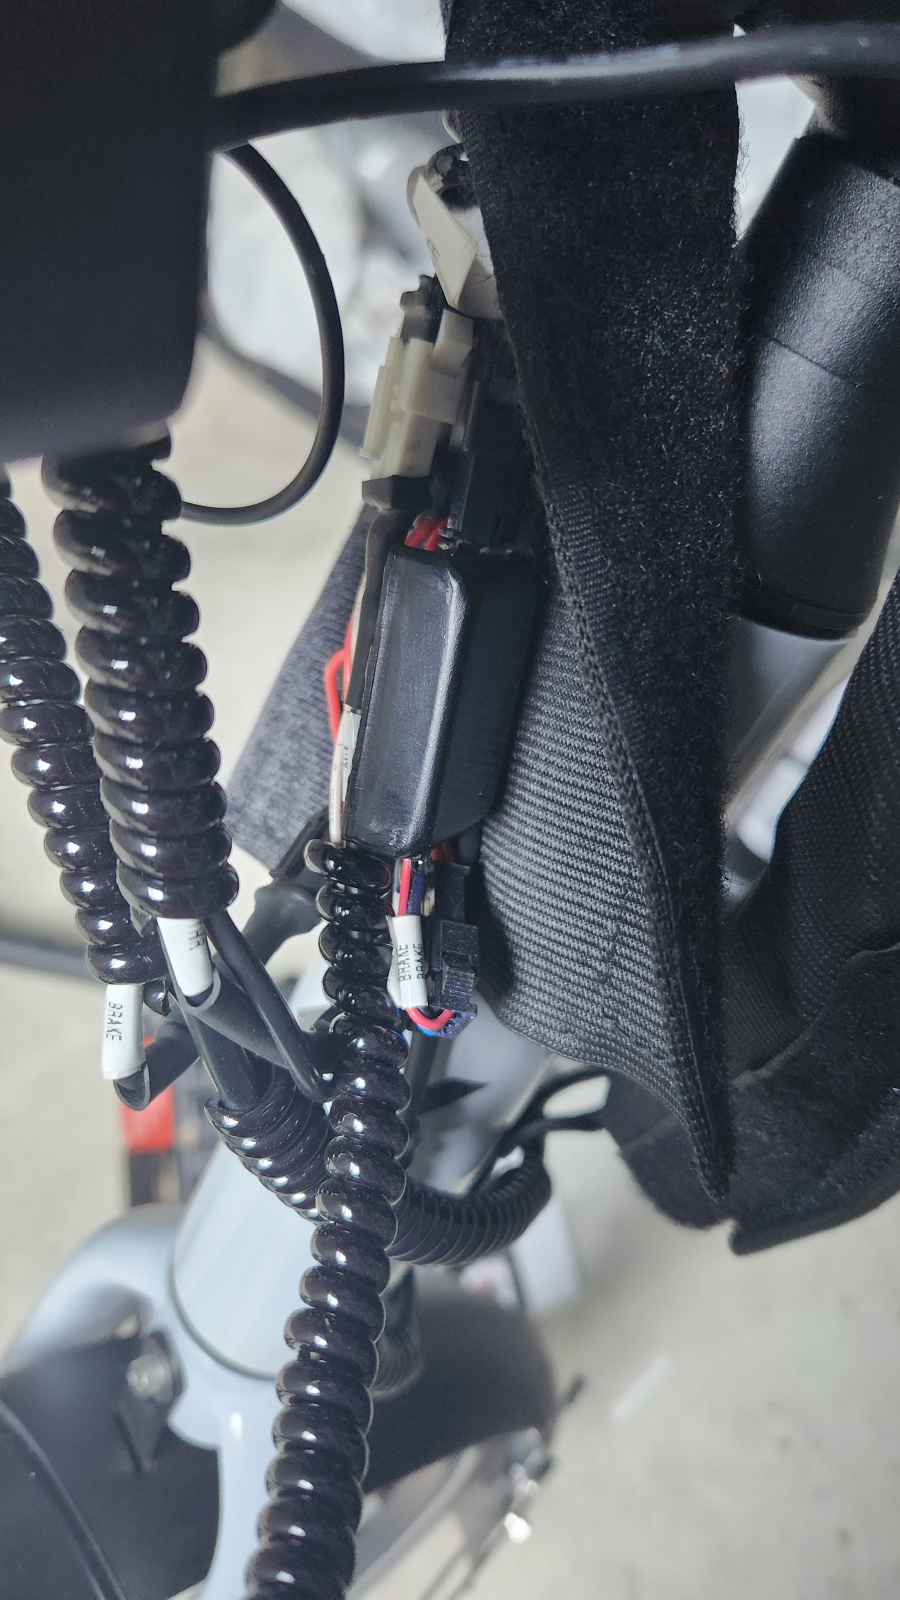
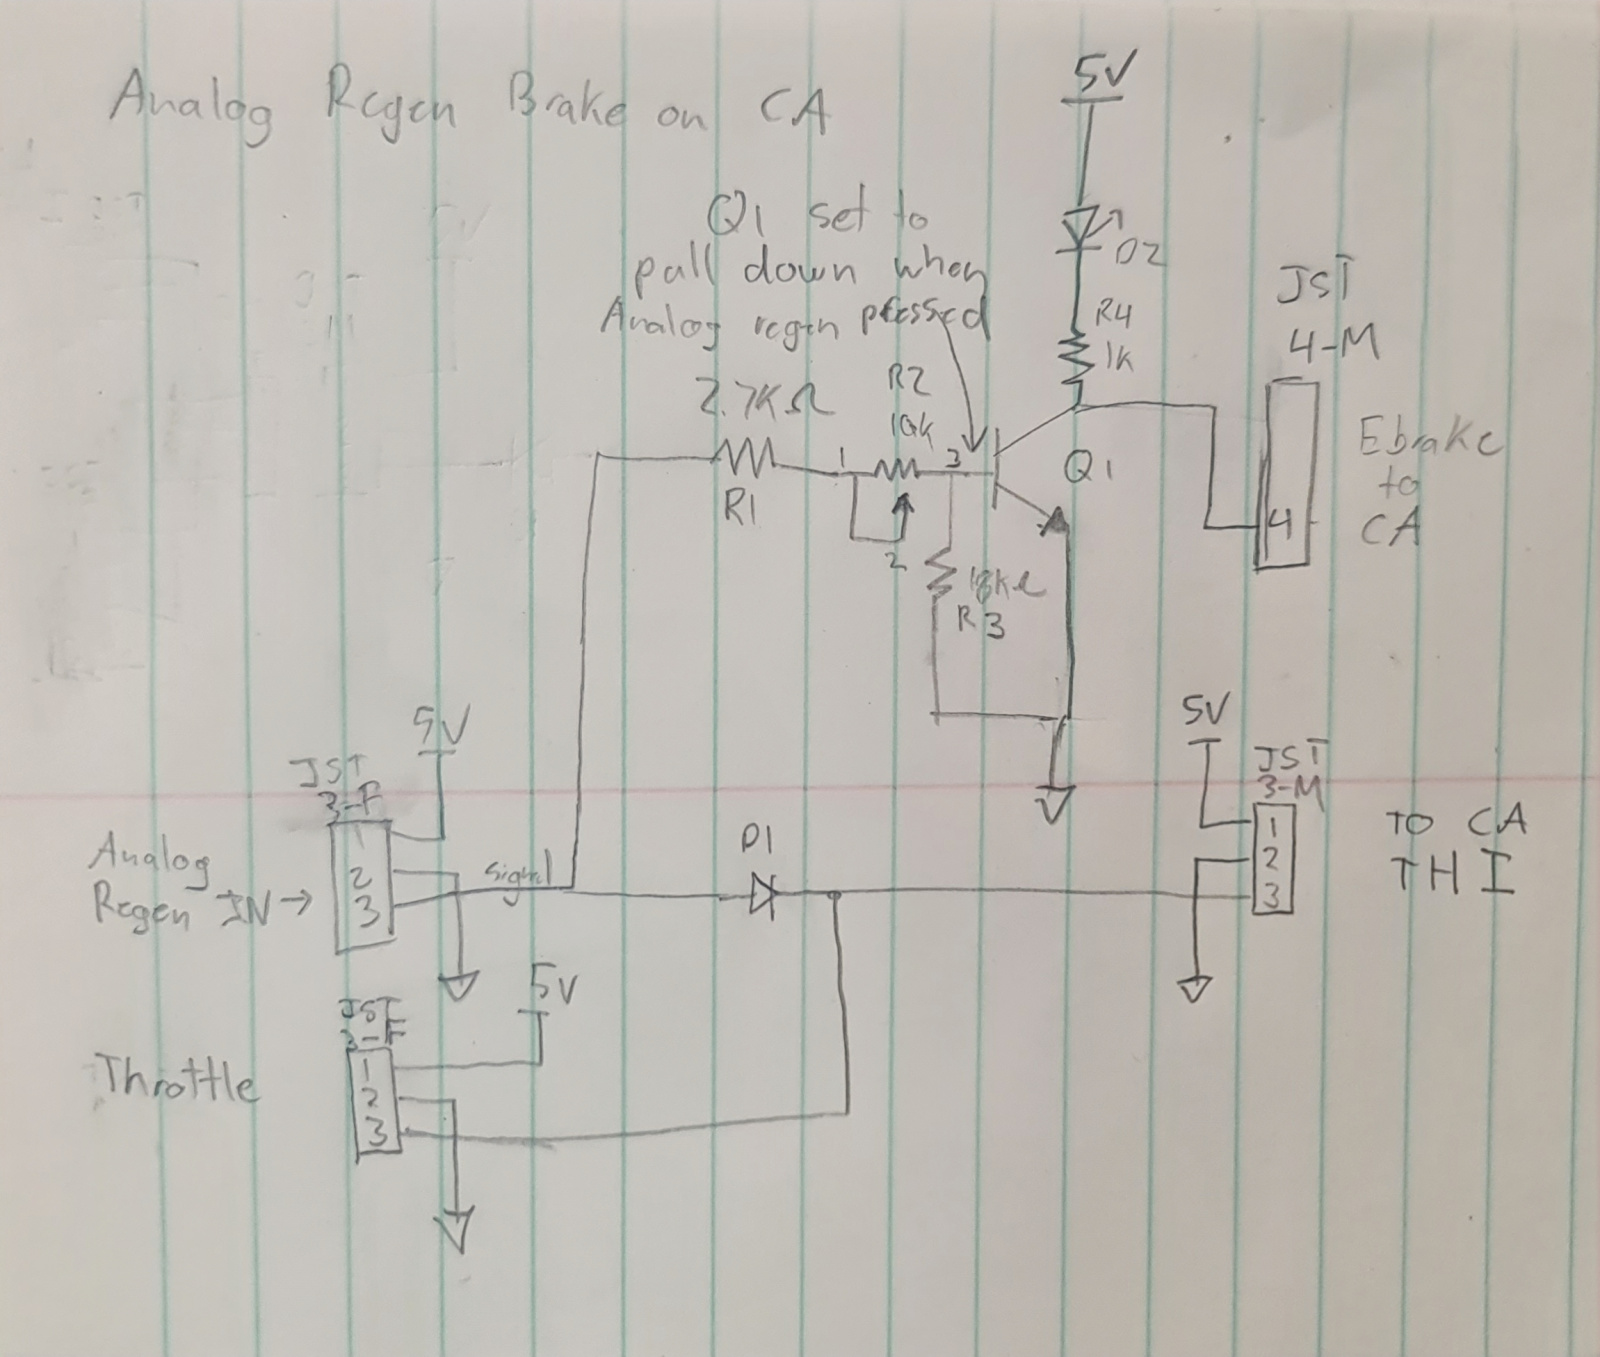
Analog Regen Brake for CA by Albert
At the time this circuit was made, there isn't a way to natively use analog regen levers on the CA.
How it works: This circuit reads the analog regen lever and when it is depressed, it will pull the ebrake pin on the CA low, which turns on regen on the CA. Then you can modulate it with the analog lever OR the throttle just like normal.
Q1 is tuned using a pot (R2) so that any amount of pressing the lever will enable the Ebrake signal (about 1.1V). The throttle and the Analog regen lever signals are OR'd together using a signal diode (D1) so the throttle does not backfeed into the ebrake cct. Since most throttles and analog levers use a open drain hall transistor, you can tie all the signals together just fine.
Because of D1, you lose some of the signal, so I set the CA to have full braking at a higher voltage, like 3.2V instead of 4V like normal for throttle IN.
Alternatively you can use a magnetic switch instead of this CCT and just attach it to the analog regen lever and then tie the throttle and analog regen lever signals together.
If I were to redo this CCT I would probably just use a microcontroller.

 with the CA.")
Bicycle Parts List
Base: Norco Indie 4
Bell: ROCKBROS Bike Bell
Brakes: JUIN TECH M1 Hydraulic MTB E-Bike Disc Brake Set 160mm with Rotor
Cable Wrap: Plauauyt 6 Piece 1M
Dash Camera: DDPAI RANGER
DC/DC Converter: SSLHONG DC DC 20-72V to 5V USB Output Converter Step-Down Module Waterproof Transformer (Double USB A)
Fenders: Axiom Flascheguard Fender
Front Wheel: WTB STi23 TCS/Formula DC
Handlebar Stem Mount: VEXPLO Bicycle Handlebar Stem Mount
Handlebars: Velo Orange Crazy Bars 2
Kickstand: Velo Orange Copenhagen Dual Leg Kickstand
Mirrors: Hafny Bar End Bike Mirror
Rear Light: Electric Bike 6V‑60V Tailight LED
Rear Rack: CXWXC Rear Bike Rack
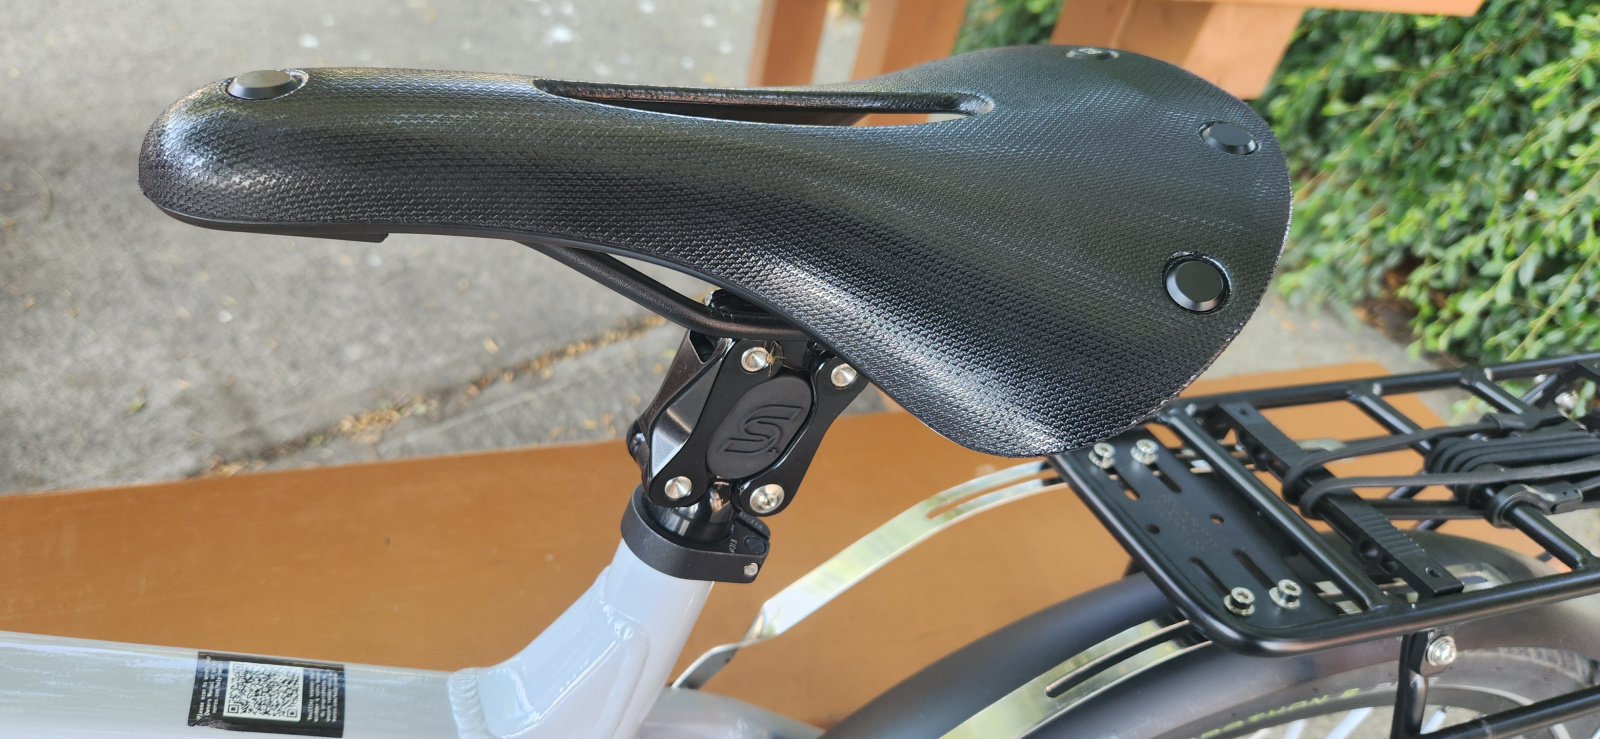
Saddle: Brooks England C209CA6300 Cambium All Weather Bike Saddle, Black, C19
Shifter: Shimano Tourney TZ500 7-Speed Right Thumb Shifter
Spoke Reflectors: GeeRic 72PCS Bike Spoke Reflector
Suspension Seat Post: Cane Creek eeSILK Plus Alloy Seatpost
Tyres: Schwalbe Marathon E-Plus
Valve Caps: Granite Juicy Nipple Valve Cap
E-bike Parts List
Rear Motor Model: V3 Rear All-Axle, Std HG
All-Axle Rear Torque Arm: V3 Rear All-Axle Torque Arm Kit
Rear Axle Adapters: 135mm (QR) Slotted Dropout Rear Adapters for V3
Inject Motor with Statorade?: Inject Motor with Statorade
Rim for 32h Hub: Rim275_DM30_32H
Spoke Colour x32: 32 x Sapim Strong 13-14g Butted Spoke, Black
Let Grin do Wheelbuild?: Kit WheelBuild
L10 Controller: V6 Baserunner_L10
Baserunner Controller Mount: Reention battery baseplate, machined to fit Baserunner
V3 Cycle Analyst: CA3-WP
Auxiliary Input and Power Switch: CKL12AFW01-016
CA Mounting Bracket Style: Steer Tube Mounted Bracket for Cycle Analysts
Extension/Adapter Cable - Integrated PAS to CA: PAS to CA Adapter Cable 120cm
Battery Choice (36-52V): 52V 20Ah Downtube Battery
Charger Option (Must match voltage): Satiator Upgrade with ST3 Adapter
Include Battery Bracket?: Triple Bob
Throttle Style: Right Full Twist Throttle (50cm Cable)
Accessories: Handlebar Phone Mount and Charger
SPL-01 1900 Lumen Ebike Light
Laser Mark 250W on Motor
Analog Regen Lever
Auxpot
DC Jack extension
Main9 DC Power Tap for Rear Lights
Thumb Throttle with Clamp (50cm Cable)
Handle Bob
Flexible Ebike Cable Raceway
Other Thoughts
- I had to replace the stock shifter with this thumb shifter because the stock shifter would come in contact with my hands on the twist throttle. This is because the analog lever has a bulge on the left side, which prevents the stock shifter from sitting on the left side where it usually goes. It actually shifts better now.
- This kickstand is a beauty. It's way more stable than a single leg on the chain stays, especially when loading the rack with heavy bags. As a bonus, it folds onto the non-drivetrain side of the bike so it can't interfere with the chain!
- I discovered that analog aux settings for the potentiometer does not have PAS level in the Cycle Analyst menu. It's only available in the CA setup tool.
- In the future, I would consider adding some sort of steering lock to prevent the handlebars from swinging fully to a side when on the kickstand. It's very annoying.